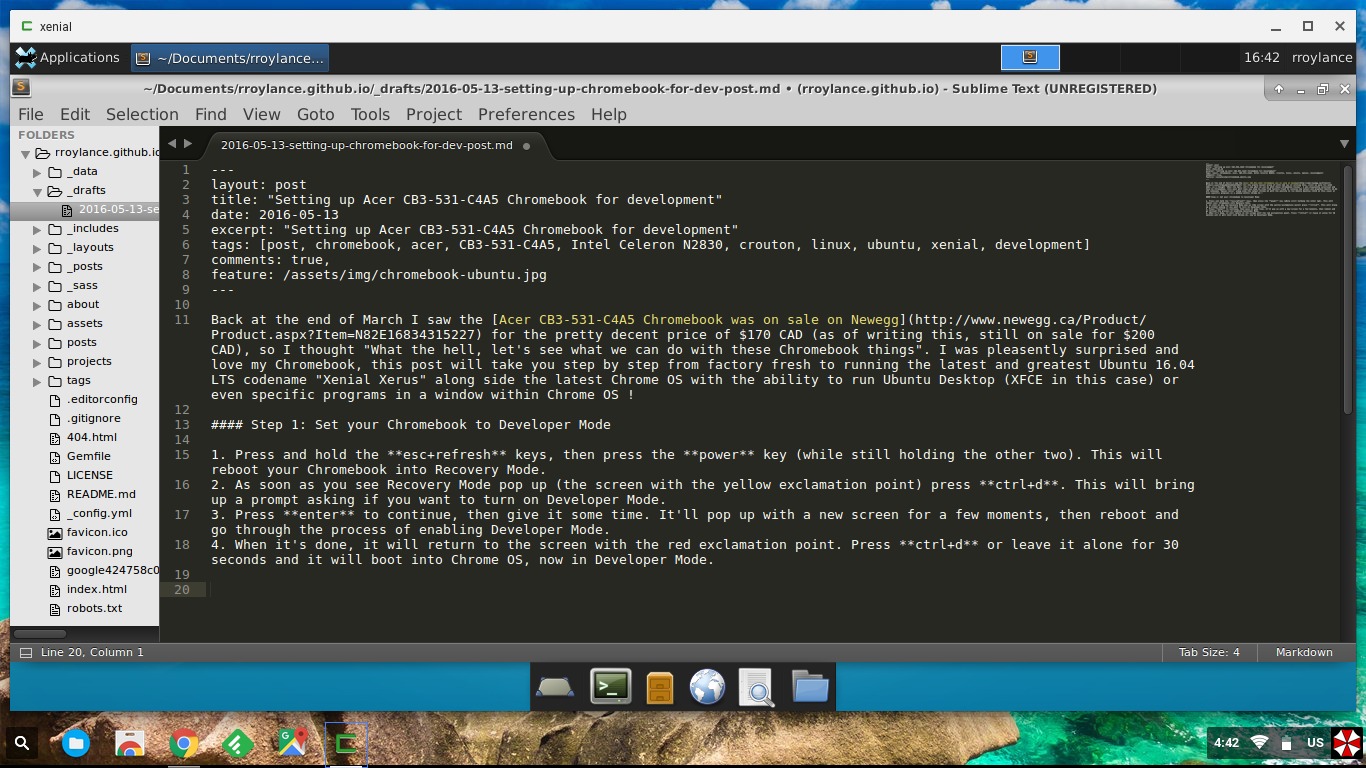
Back at the end of March I saw the Acer CB3-531-C4A5 Chromebook was on sale on Newegg for the pretty decent price of $170 CAD (as of writing this, still on sale for $200 CAD now out of stock), so I thought ‘What the hell, let’s see what we can do with these Chromebook things’. I was pleasently surprised and love my Chromebook, this post will take you step by step from factory fresh to running the latest and greatest Ubuntu 16.04 LTS codename ‘Xenial Xerus’ along side the latest Chrome OS with the ability to run Ubuntu Desktop (XFCE in this case) or even specific programs in a window within Chrome OS !
Step 1: Set your Chromebook to Developer Mode
- Press and hold the esc+refresh keys, then press the power key (while still holding the other two). This will reboot your Chromebook into Recovery Mode.
- As soon as you see Recovery Mode pop up (the screen with the yellow exclamation point) press ctrl+d. This will bring up a prompt asking if you want to turn on Developer Mode.
- Press enter to continue, then give it some time. It’ll pop up with a new screen for a few moments, then reboot and go through the process of enabling Developer Mode.
- When it’s done, it will return to the screen with the red exclamation point. Press ctrl+d or leave it alone for 30 seconds and it will boot into Chrome OS, now in Developer Mode.
Step 2: Install crouton extension
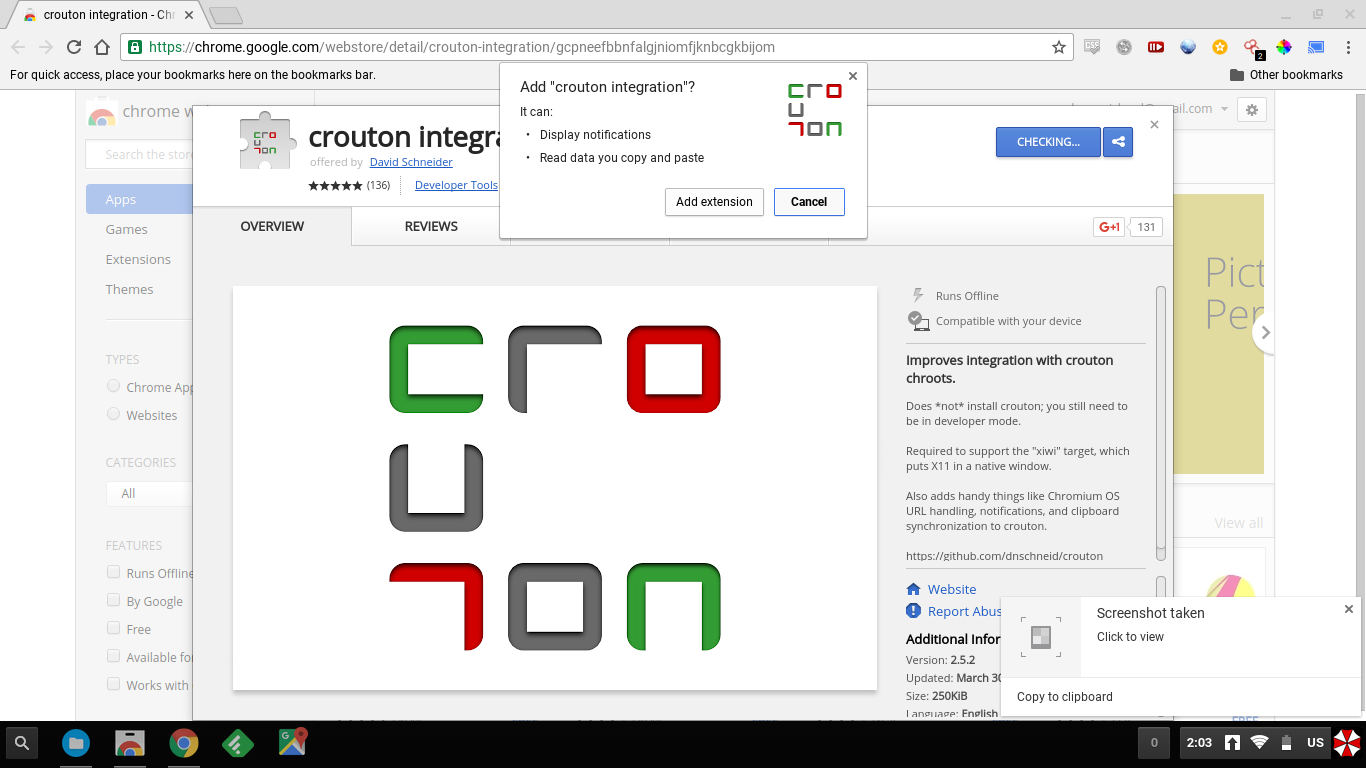
- Navigate to crouton integration Extension @ Chrome Webstore
- Click ‘+ ADD TO CHROME’ button in the top left of the popup
- Click ‘Add extension’ in the next popup
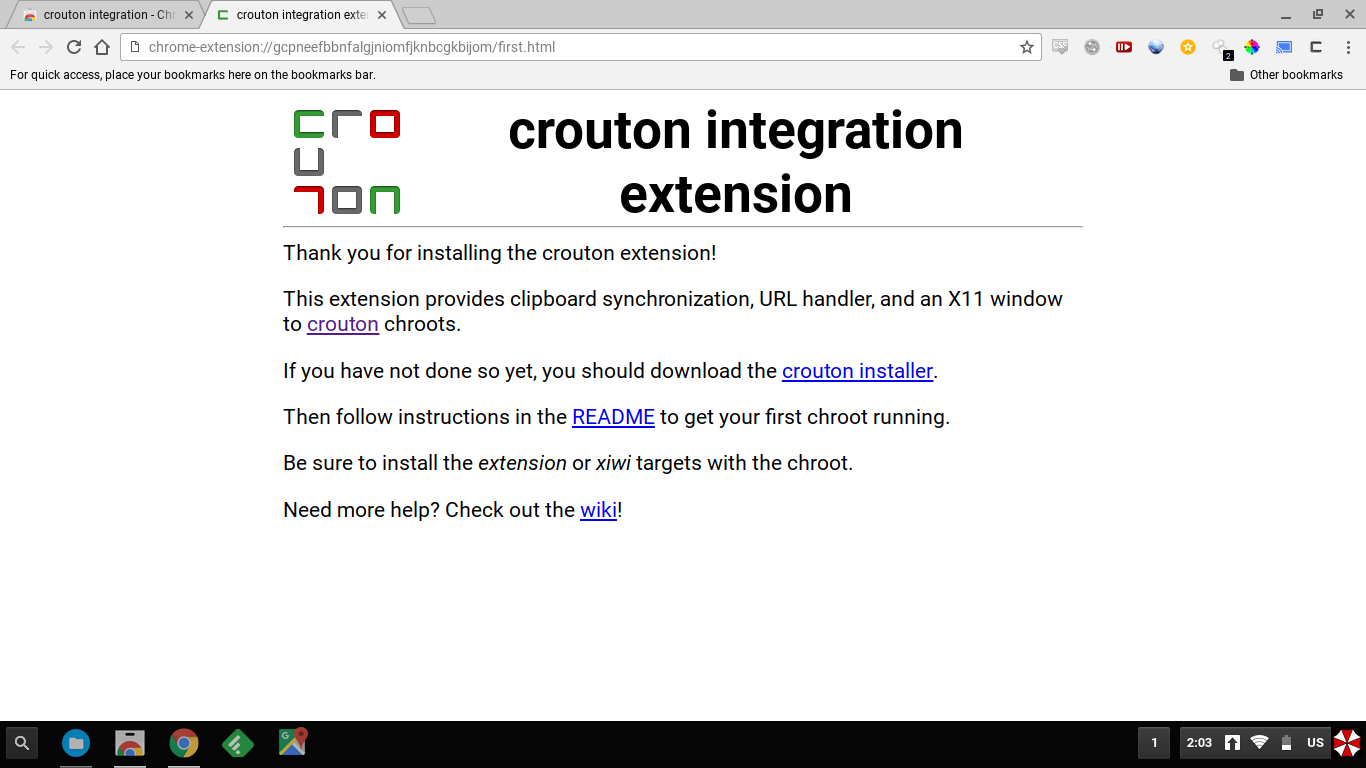
- After a few seconds you should see a new page open up saying ‘Thank you for installing the crouton extension!’
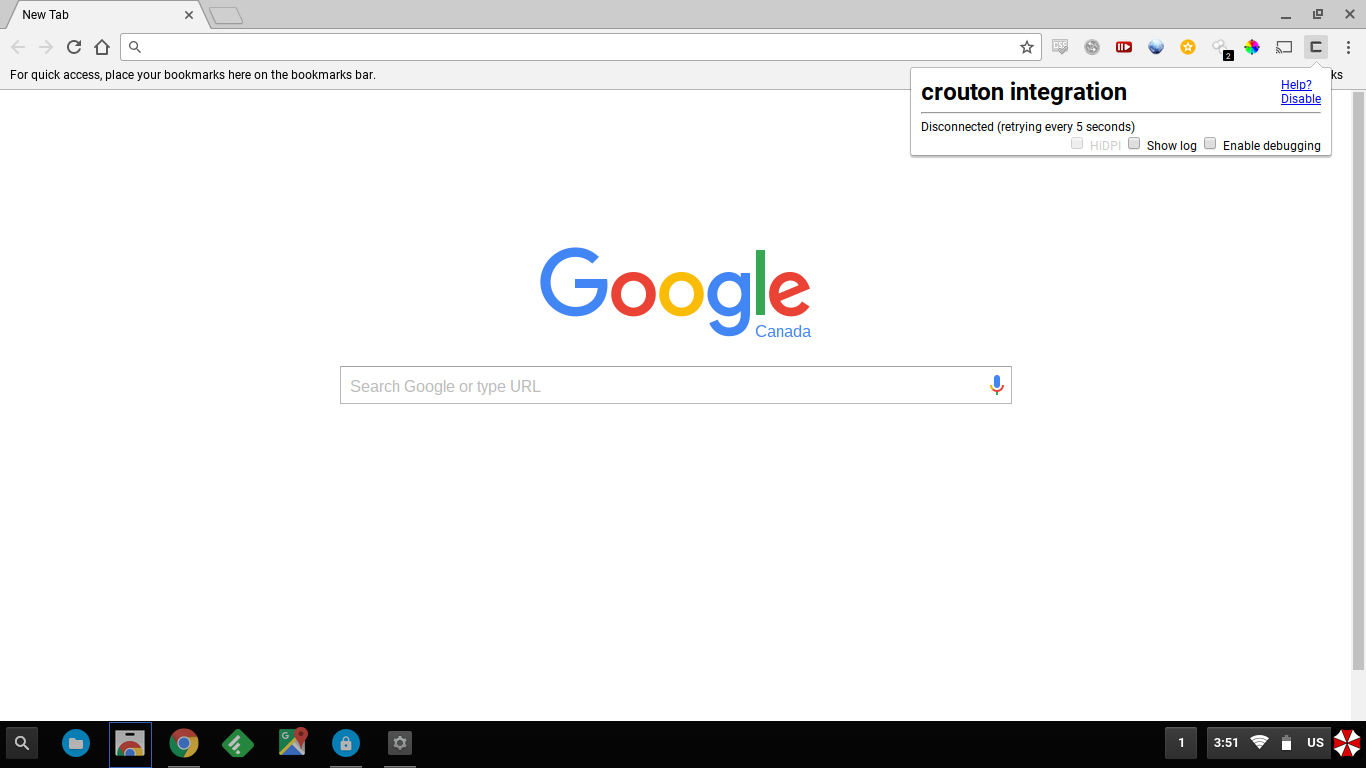
- You can now close those tabs and confirm that the extension is running by looking for the C icon in the top right of Chrome.
The crouton integration extension is now installed and we can move on to actually installing Ubuntu.

Note: From this point on I assume that you haven’t changed your default download location/ your crouton installer script is located in Downloads
Note 2: I recommend having a USB keyboard and mouse handy; as once crouton nears completion your Chromebooks keyboard and touchpad may be disabled due to a recent bug in ChromeOS. Plugging in the USB keyboard and mouse once your input is locked will allow you to complete the installation; at which point you can restart your Chromebook and input will be re-enabled.
Step 3: Download crouton
- Navigate to crouton download link which will save the crouton installer script to your Downloads folder.

Step 4: Install Ubuntu
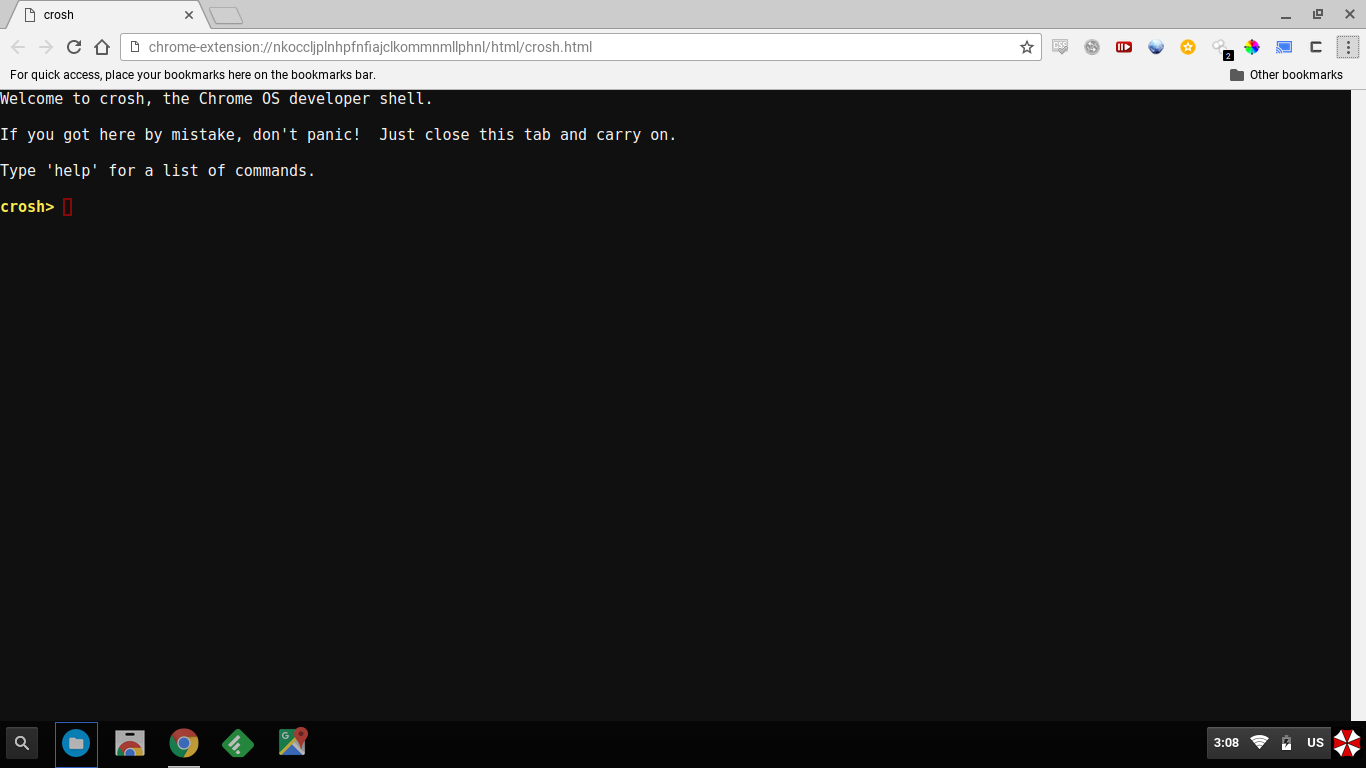
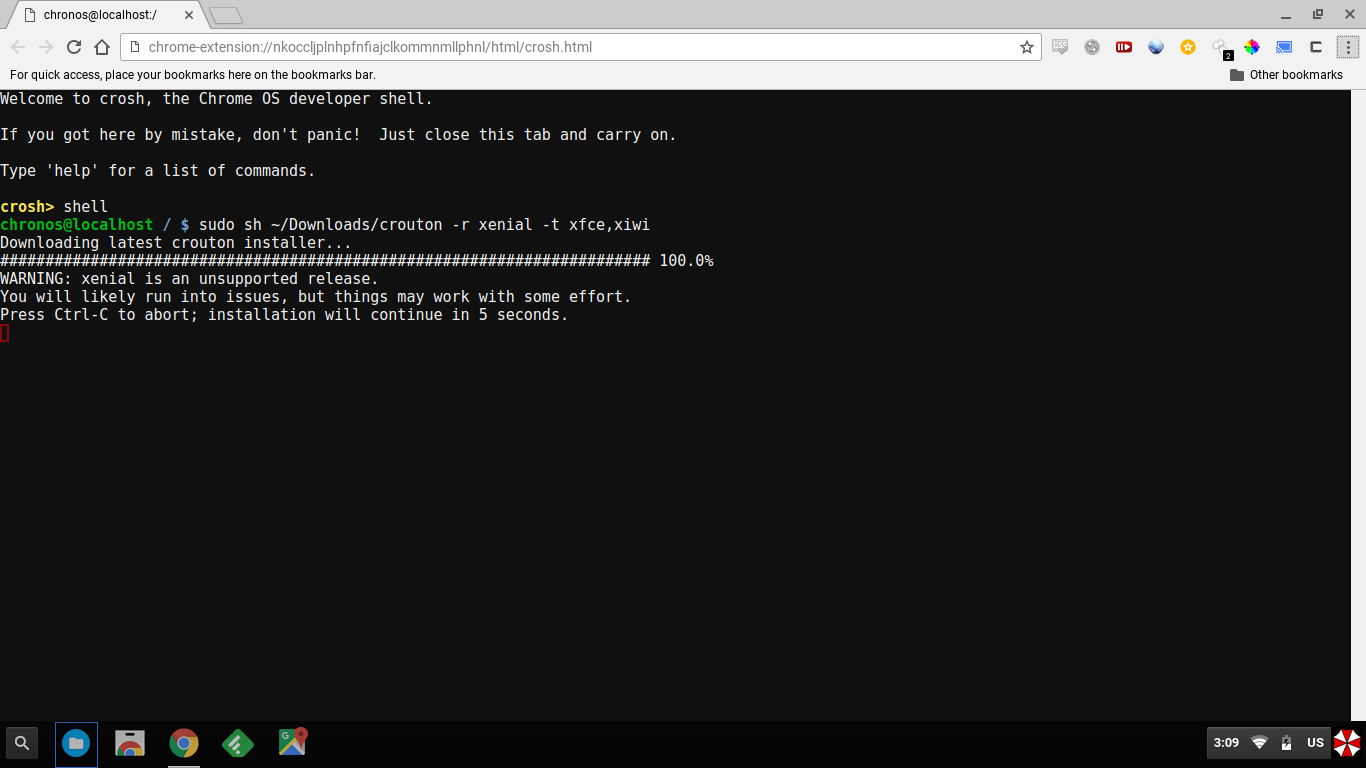
- Anywhere inside ChromeOS press ctrl+alt+t; this opens up a crosh shell (Chrome OS developer shell).
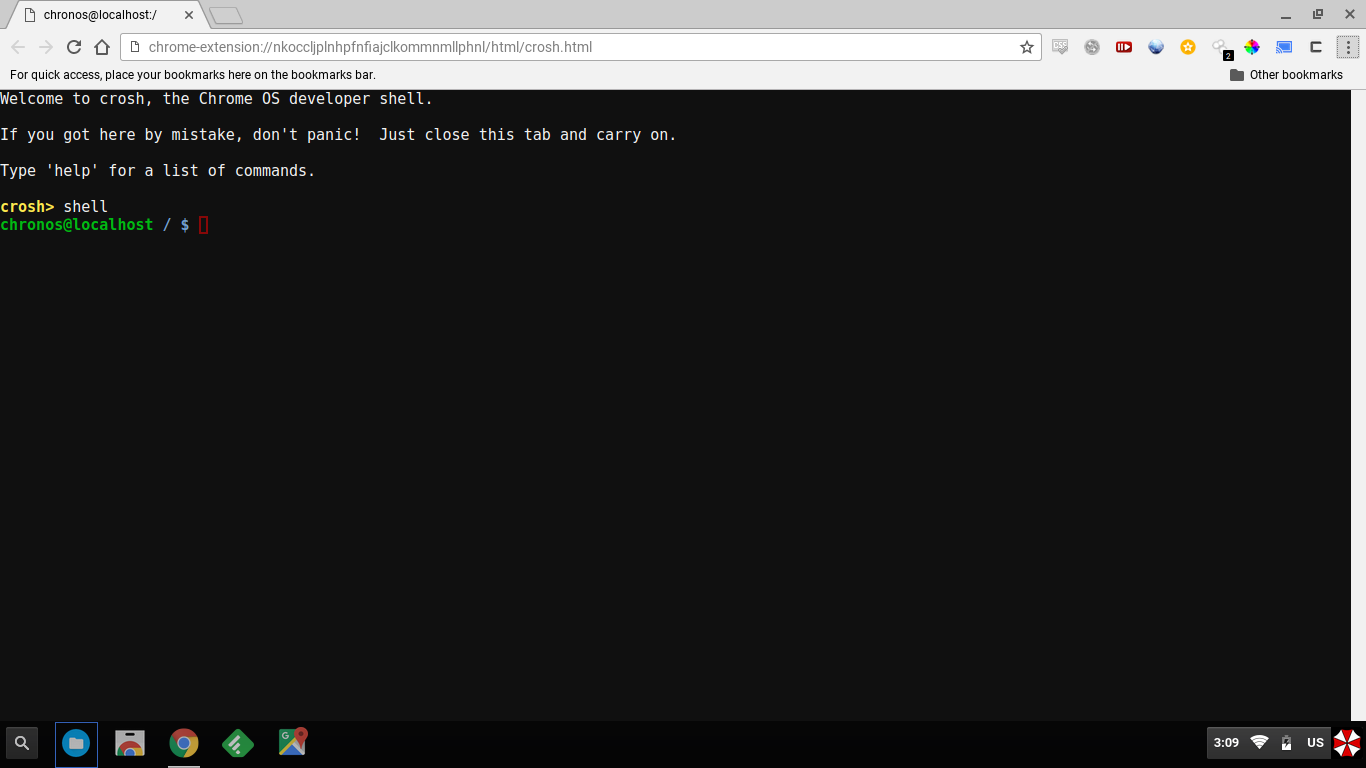
- Once the crosh shell is open type ‘shell’ to get the shell prompt.
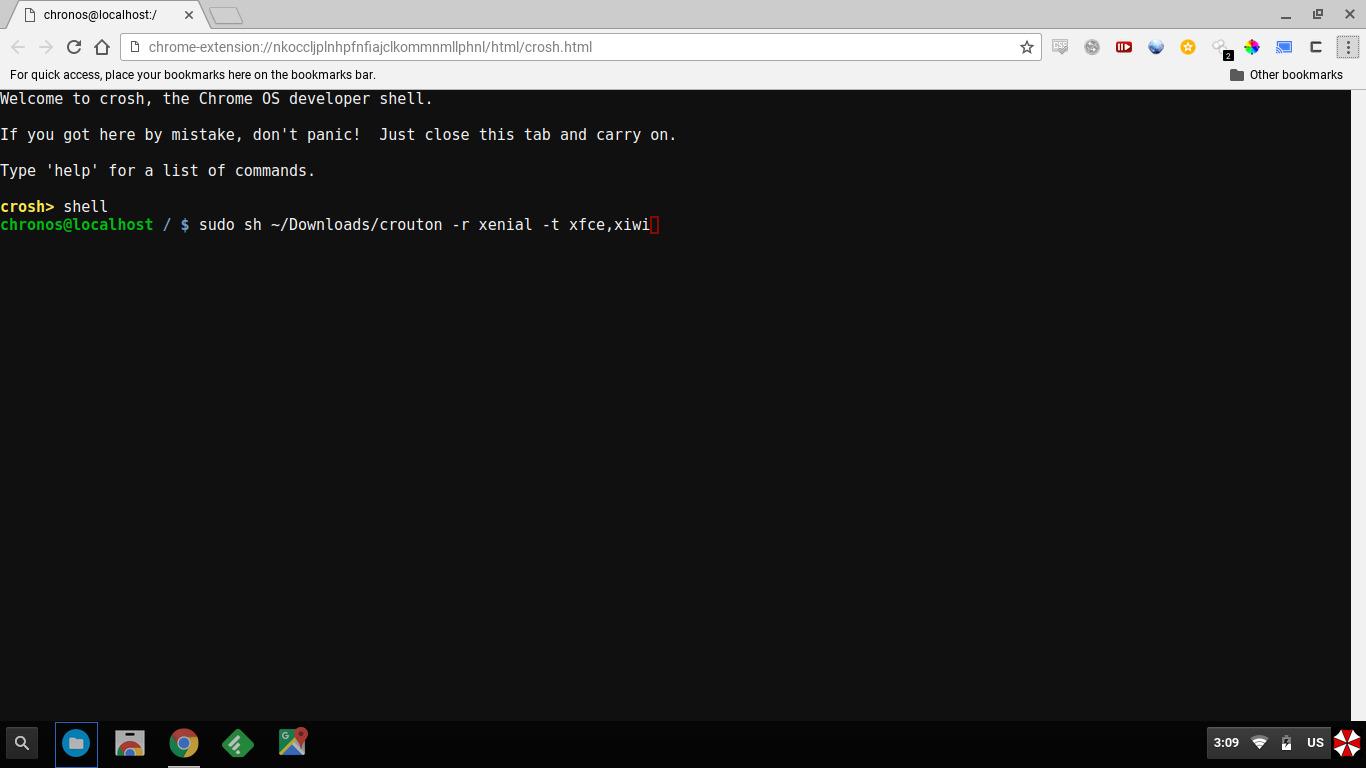
- Next it’s time to start the installation of Ubuntu; type the command ‘sudo sh ~/Downloads/crouton -r xenial -t xfce,xiwi’ and hit enter to start the process.
- The ‘-r’ in the command specifies what distribution you want to install. By default crouton will install an older LTS version, we want the latest and greatest.
- The ‘-t’ in the command specifies what targets to install; xfce is the desktop envioronment and xiwi is what allows us to run the Ubuntu desktop or applications in a window within ChromeOS.
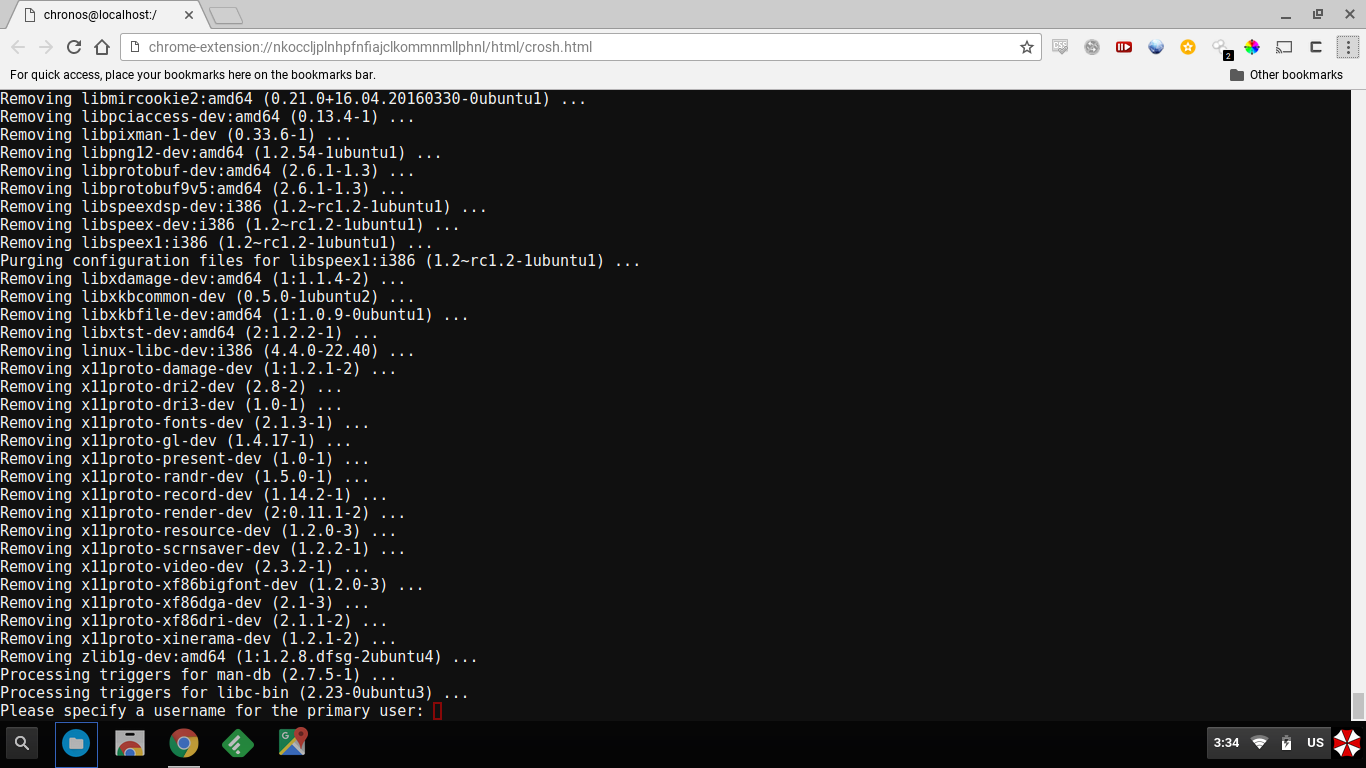
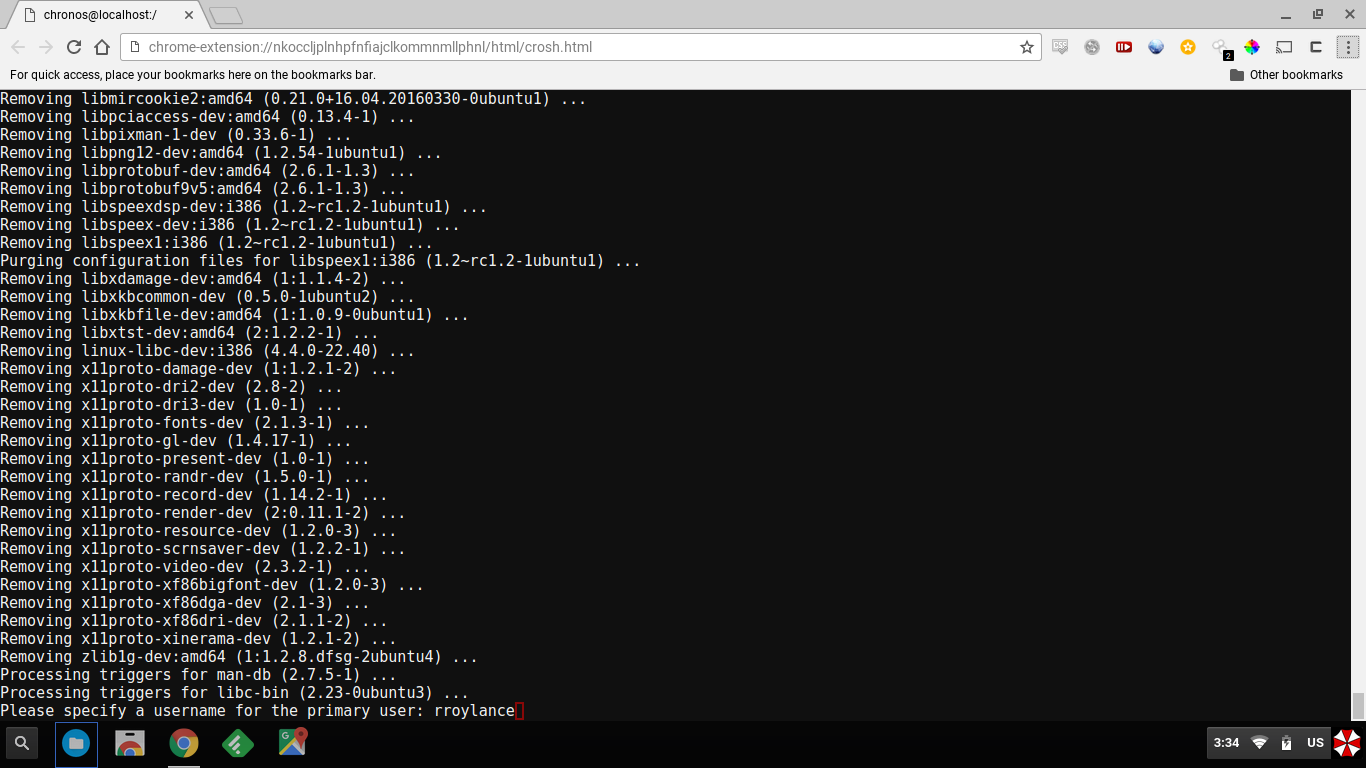
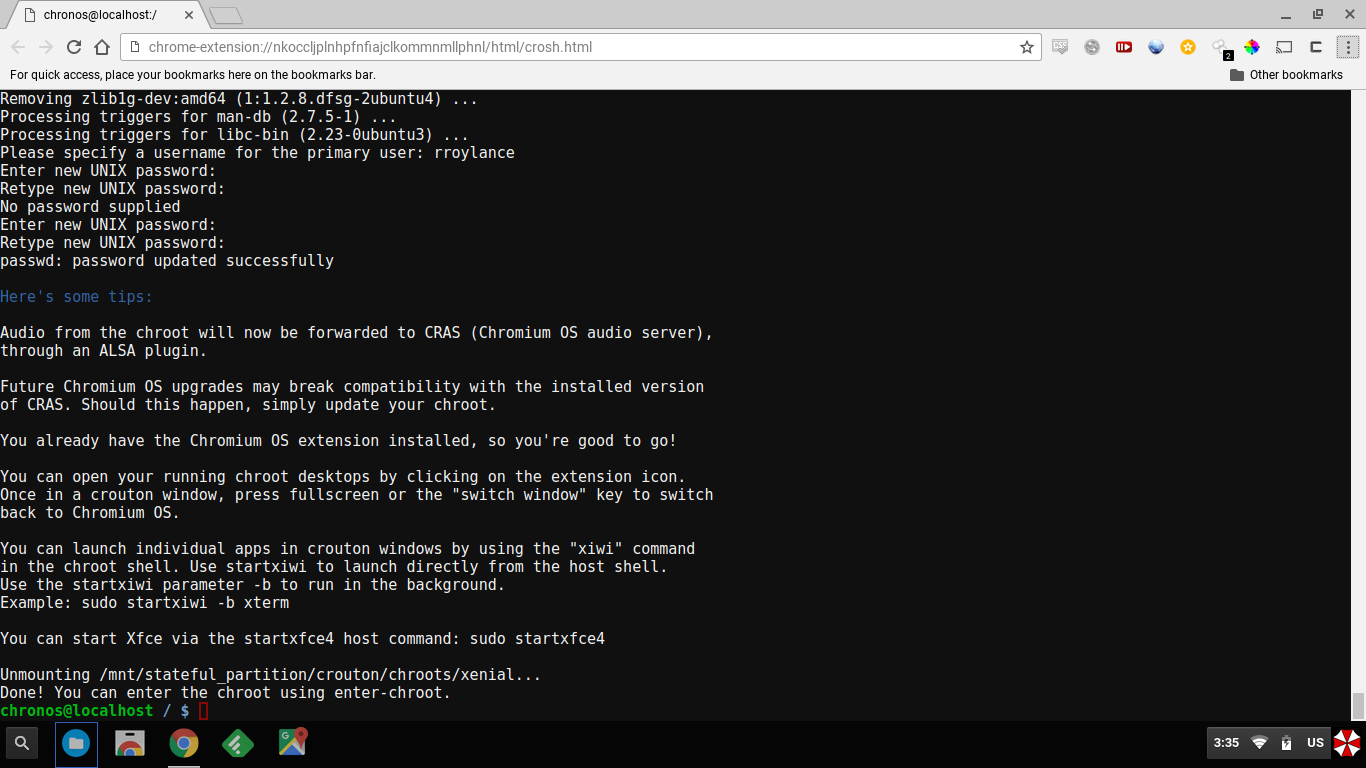
- The installation will take a while; once it is done downloading and installing things it will prompt you for a username to use for Ubuntu. Enter whatever you want that to be and hit enter.
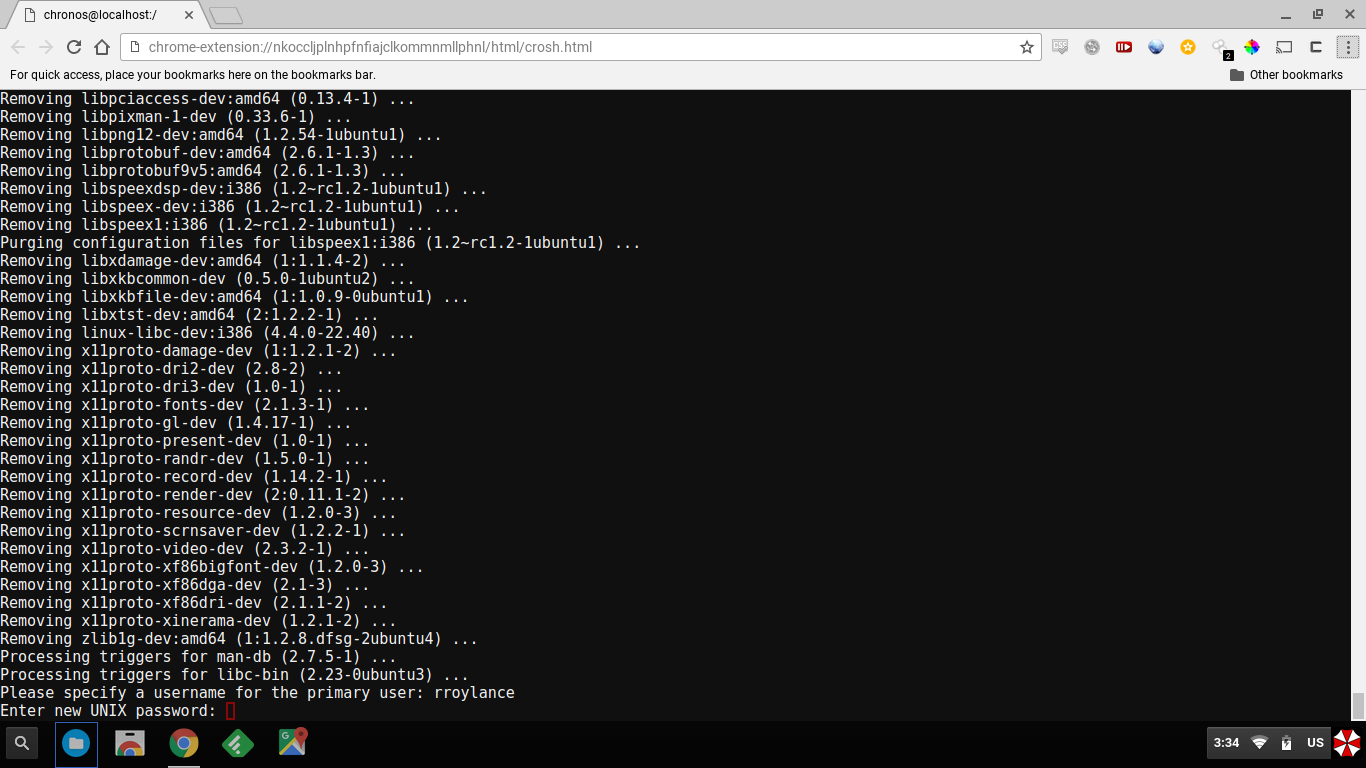
- You now need to enter your password for Ubuntu; note that you can’t not have a password, you must set something.
- Give it another minute and once you see ‘chronos@localhost / $’ (the only green in the entire process) you’re all done and ready to use Ubuntu on your Chromebook!
Step 5: Setup Ubuntu
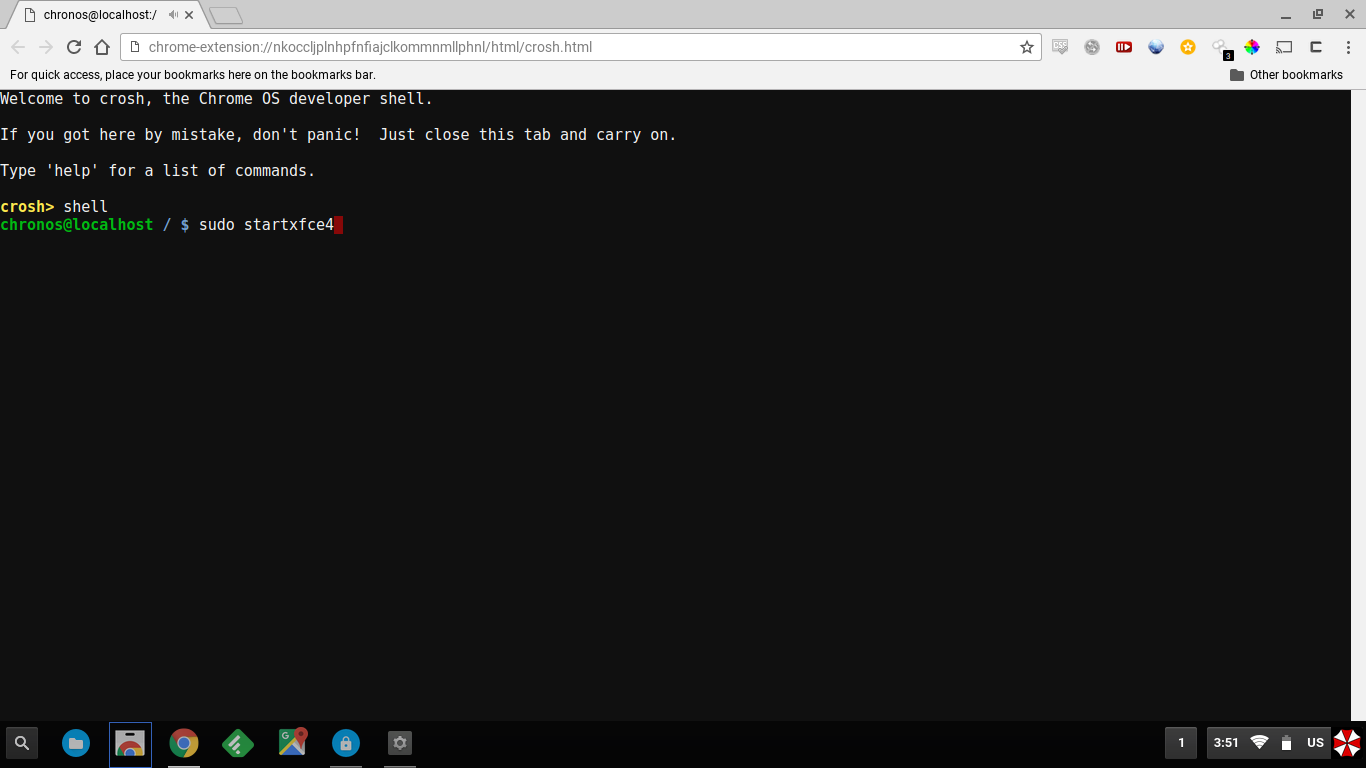
- Enter the command ‘sudo startxfce4’; this will start the xfce desktop environment that we installed.
- You will need to open up the crosh shell, type ‘shell’ and then ‘sudo startxfce4’ everytime you reboot your Chromebook.
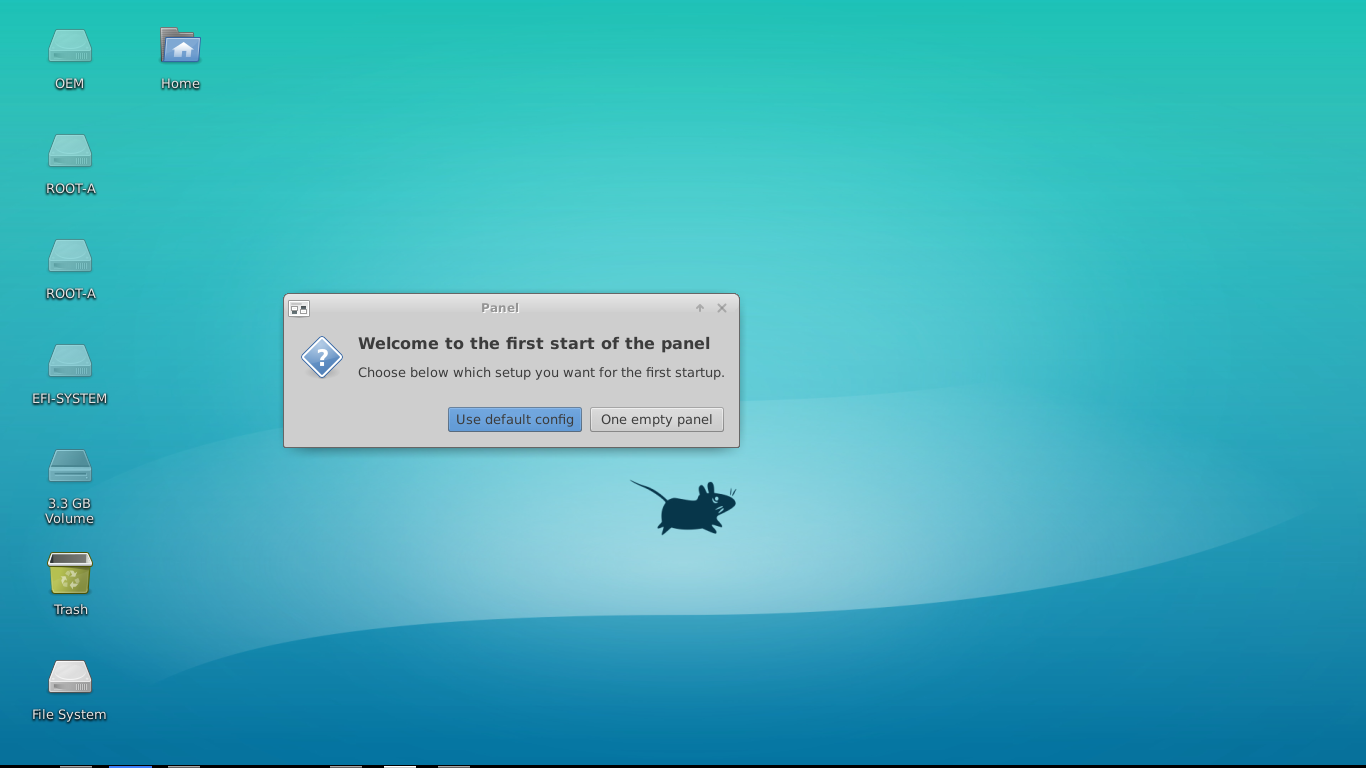
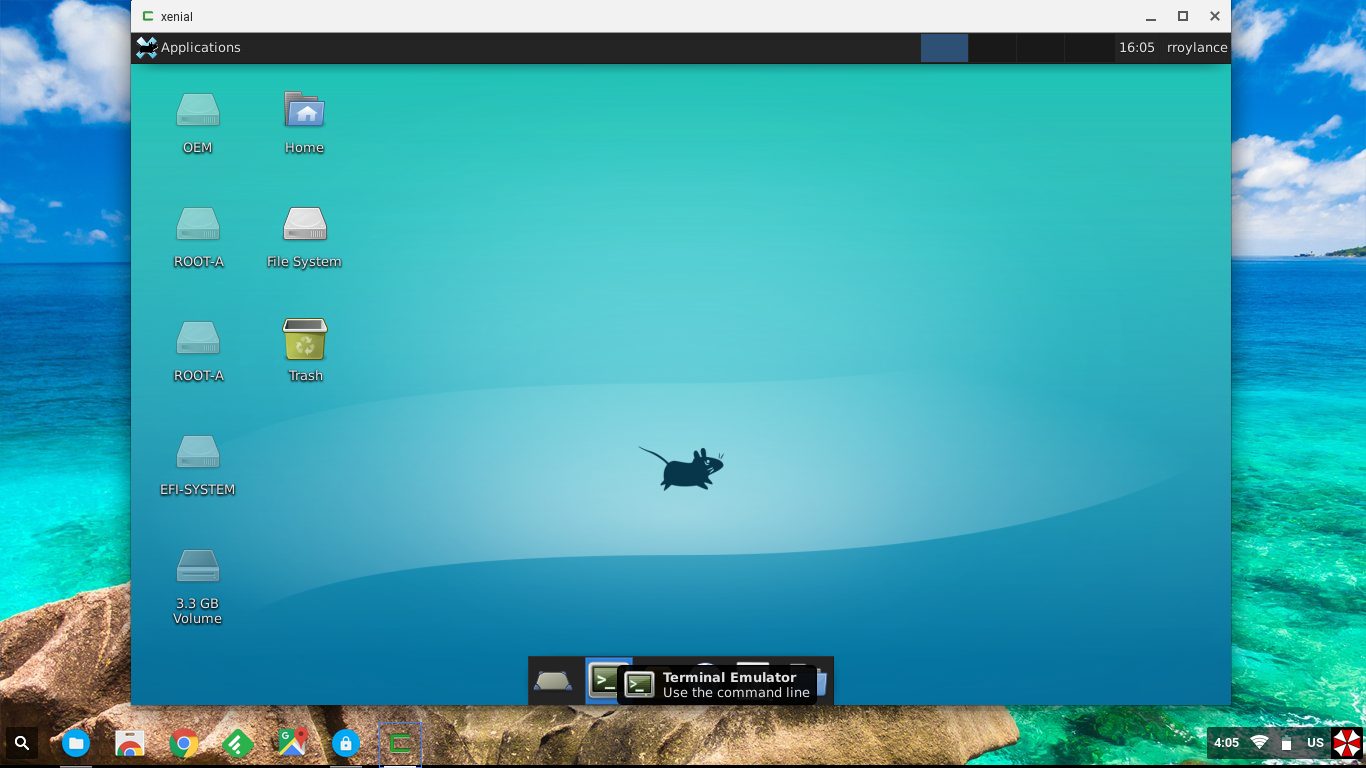
- After a second or two Ubuntu should now start up fullscreen; click ‘Use default config’ on the popup that appears and wait until the desktop fully loads.
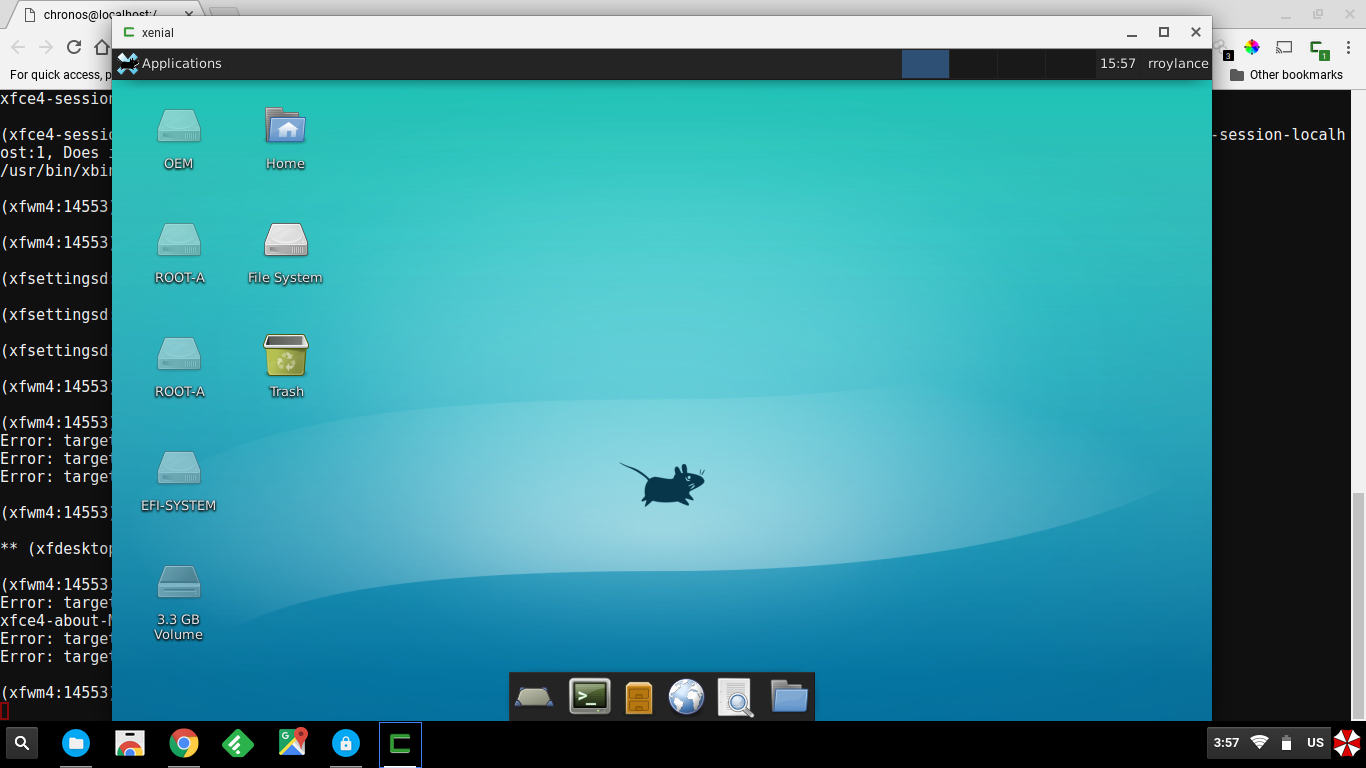
- You can now click the fullscreen button on your Chromebook keybaord to put Ubuntu in windowed mode
- While in windowed mode, or minimized, we can now confirm that the crouton integration extension is functioning by looking at the C icon in Chrome; there should be a 1 badge and clicking on it should show Chrome OS and xenial.

Step 6: Setup Git
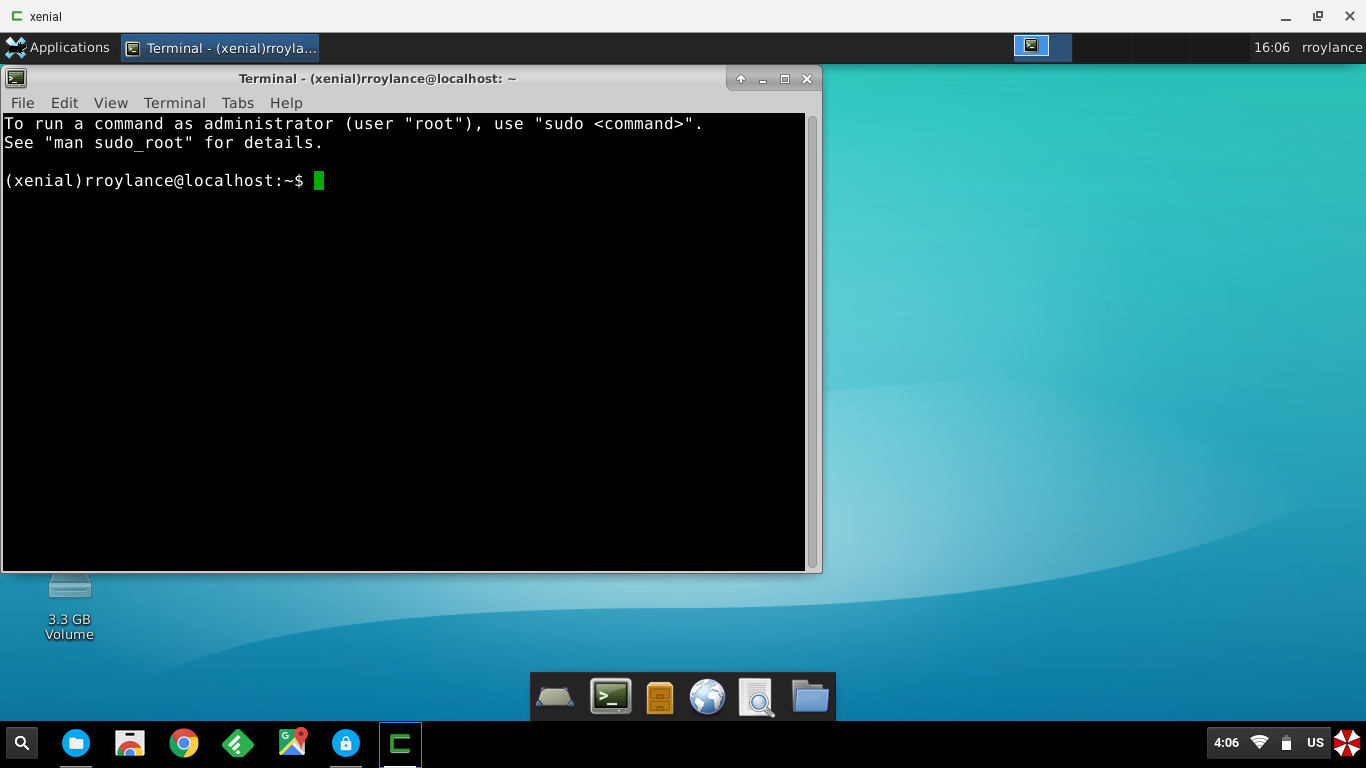
- In Ubuntu open up a terminal by clicking the icon on the dock on the bottom of the screen.
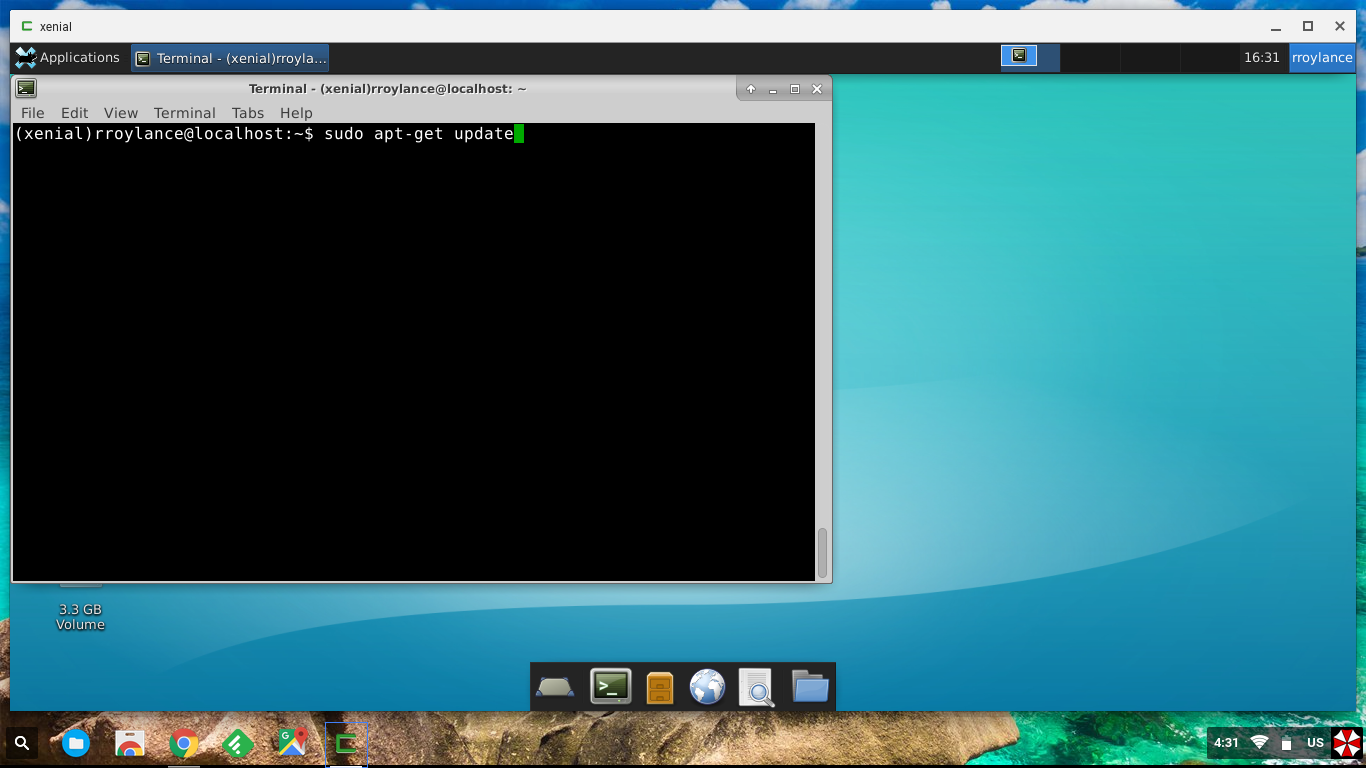
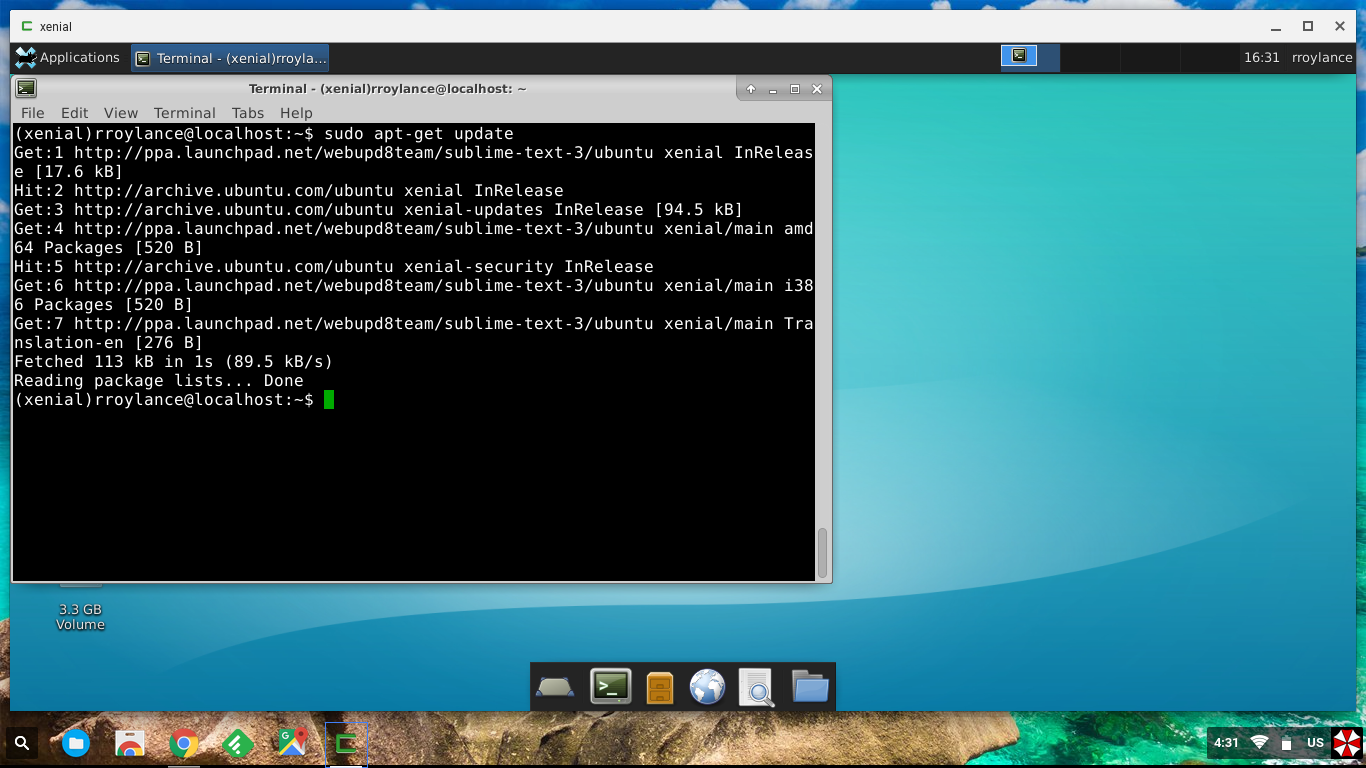
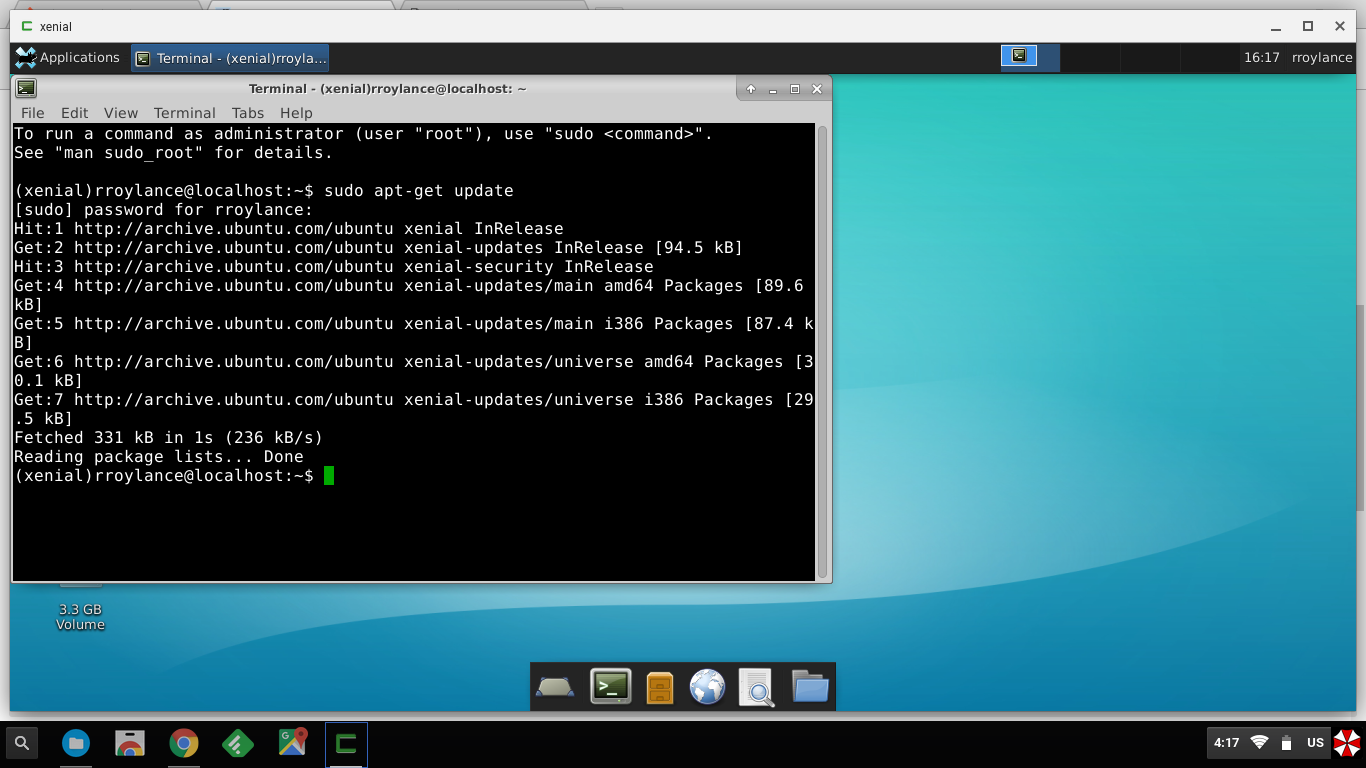
- We are going to use apt to download and install git; first you need to run the command ‘sudo apt-get update’ to update the list of available packages. You will need to type the password you set back in the crouton setup to run the command using sudo (which is necessary).
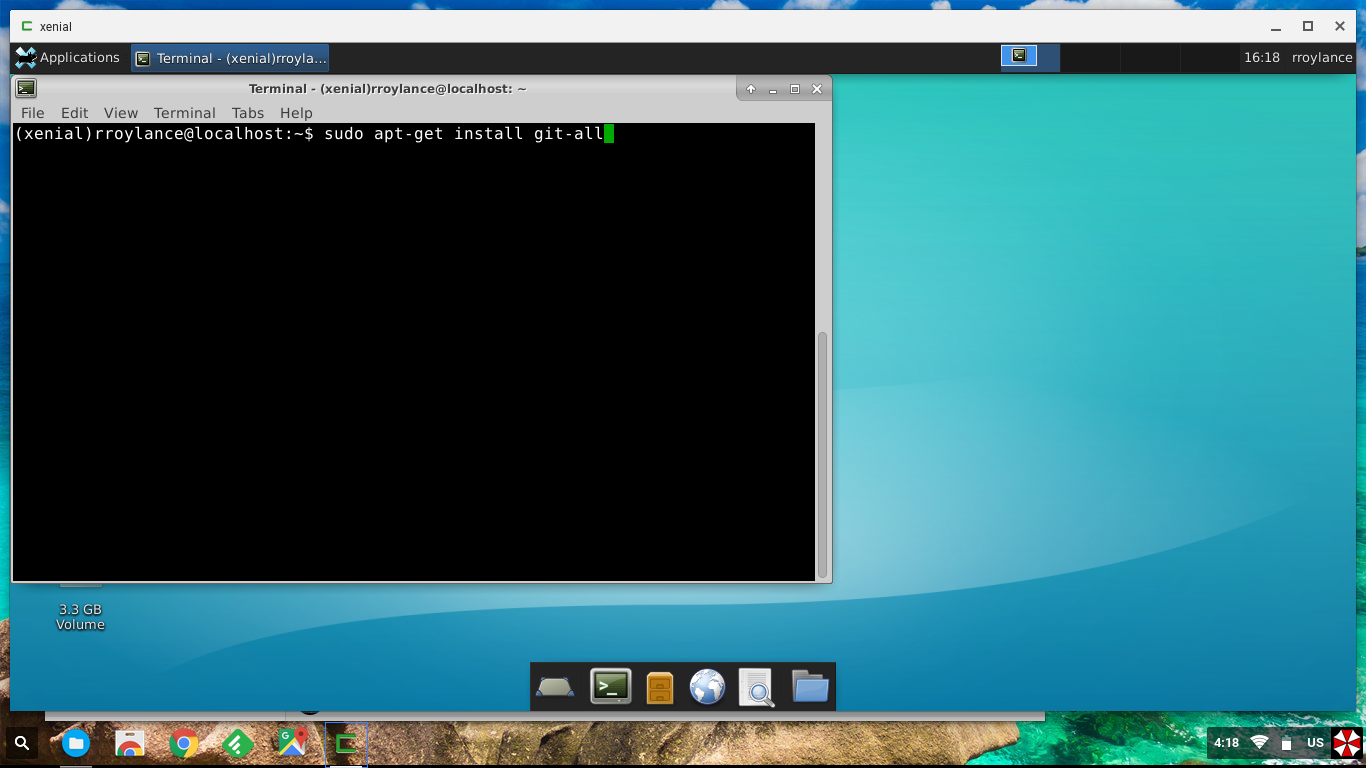
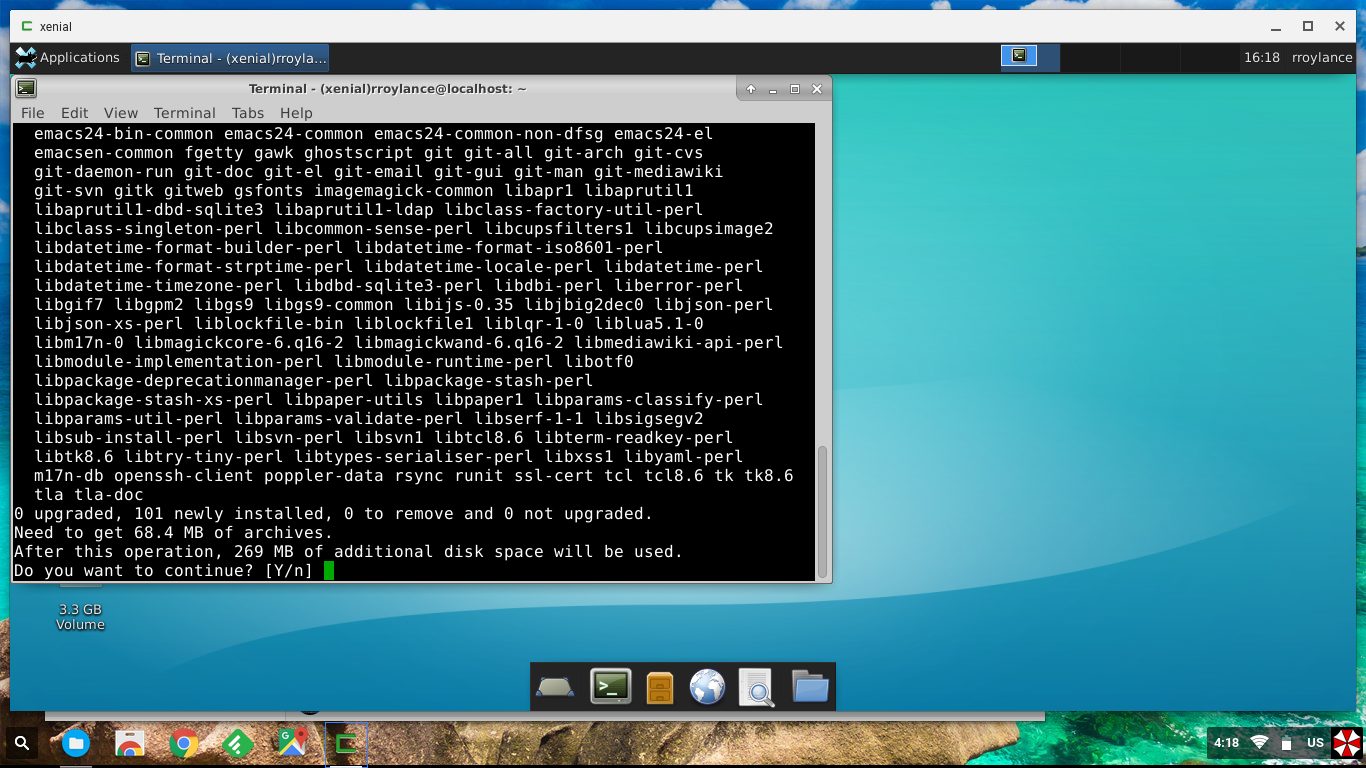
- Once that completes type the command ‘sudo apt-get install git-all’; you do not need your password this time because you already authenticated this session in the update command.
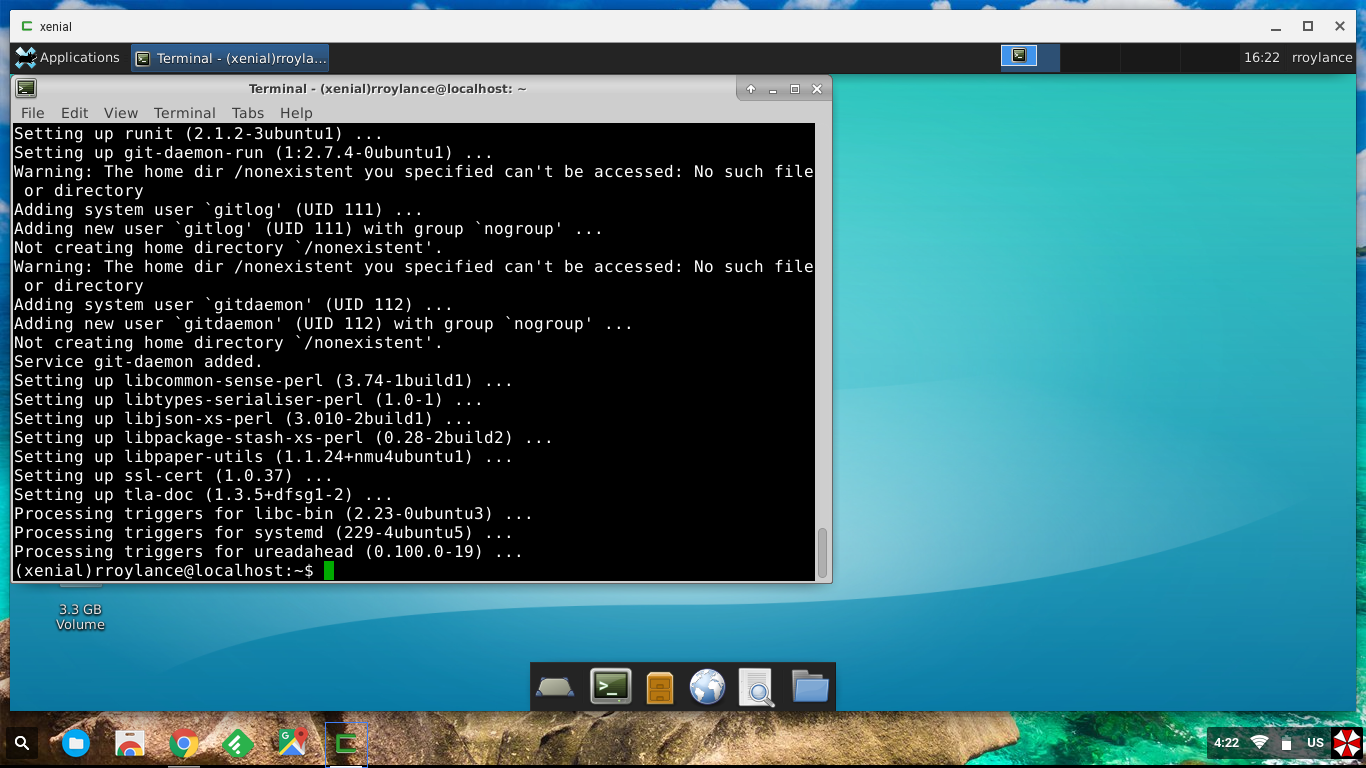
- Once that completes you now have git cli installed and almost ready to use.
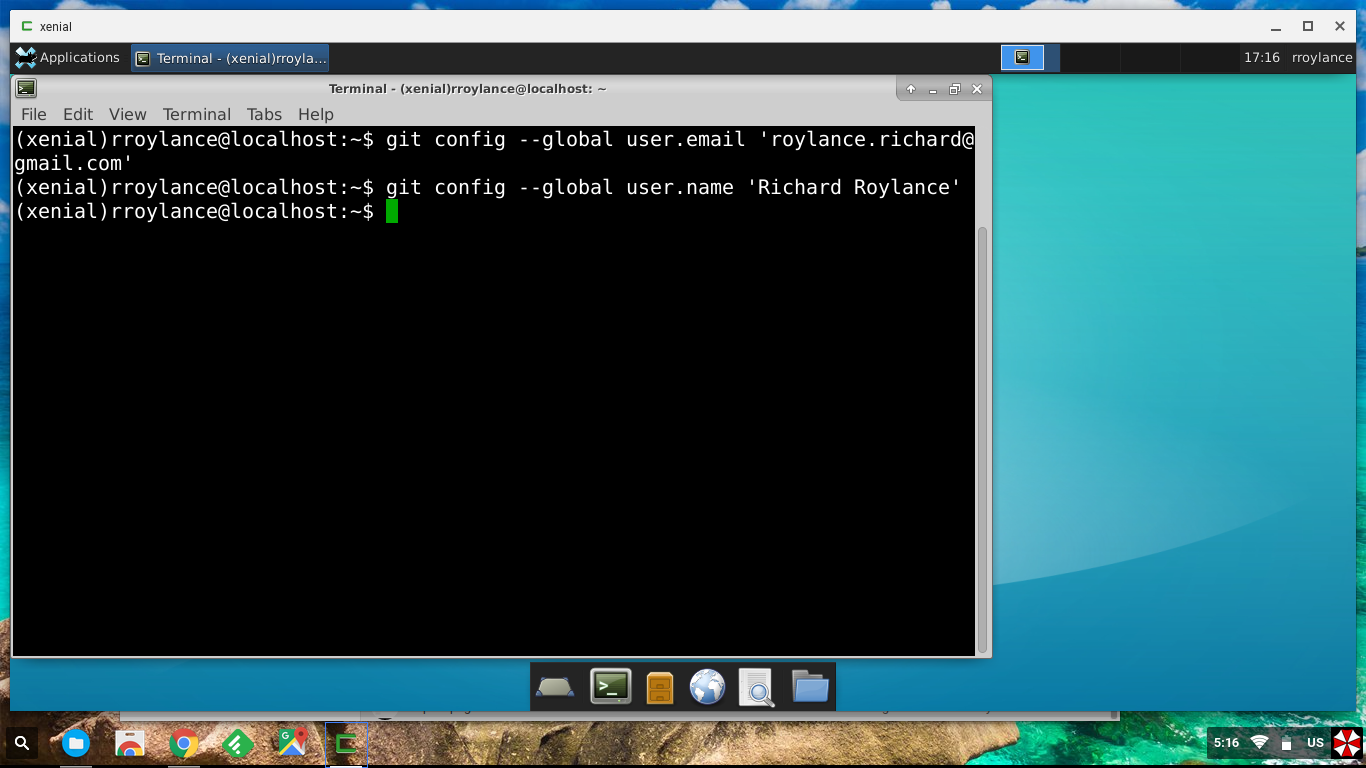
- Lastly you need to set your email and name in the git config; run the command ‘git config –global user.email ‘your@email.com’‘ to set your email.
- Now run the command ‘git config –global user.name ‘Name’‘ to set your name. You are now ready to use git to your hearts content.
Step 7: Download Sublime Text 3, clone a project from Github, and open that project in Sublime Text
- We are going to use apt again to install Sublime Text 3; open up a terminal.
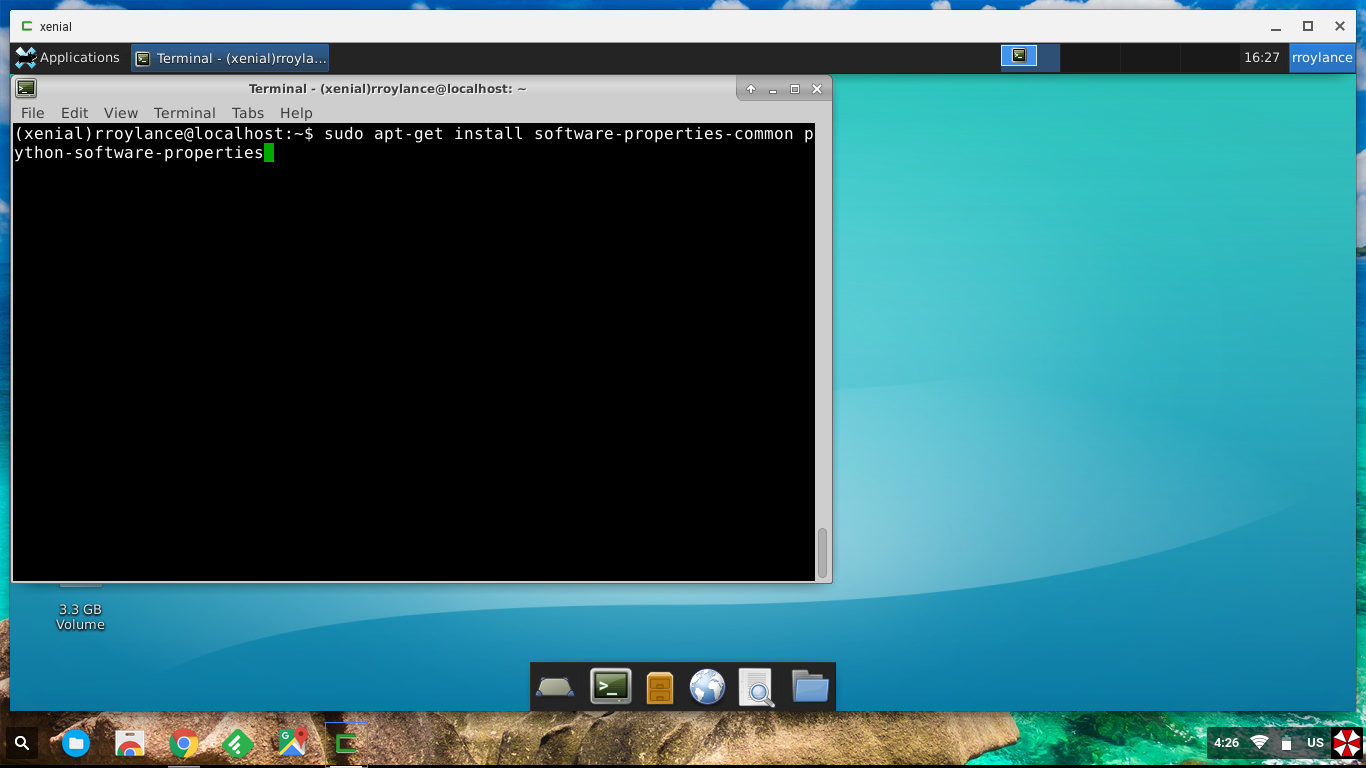
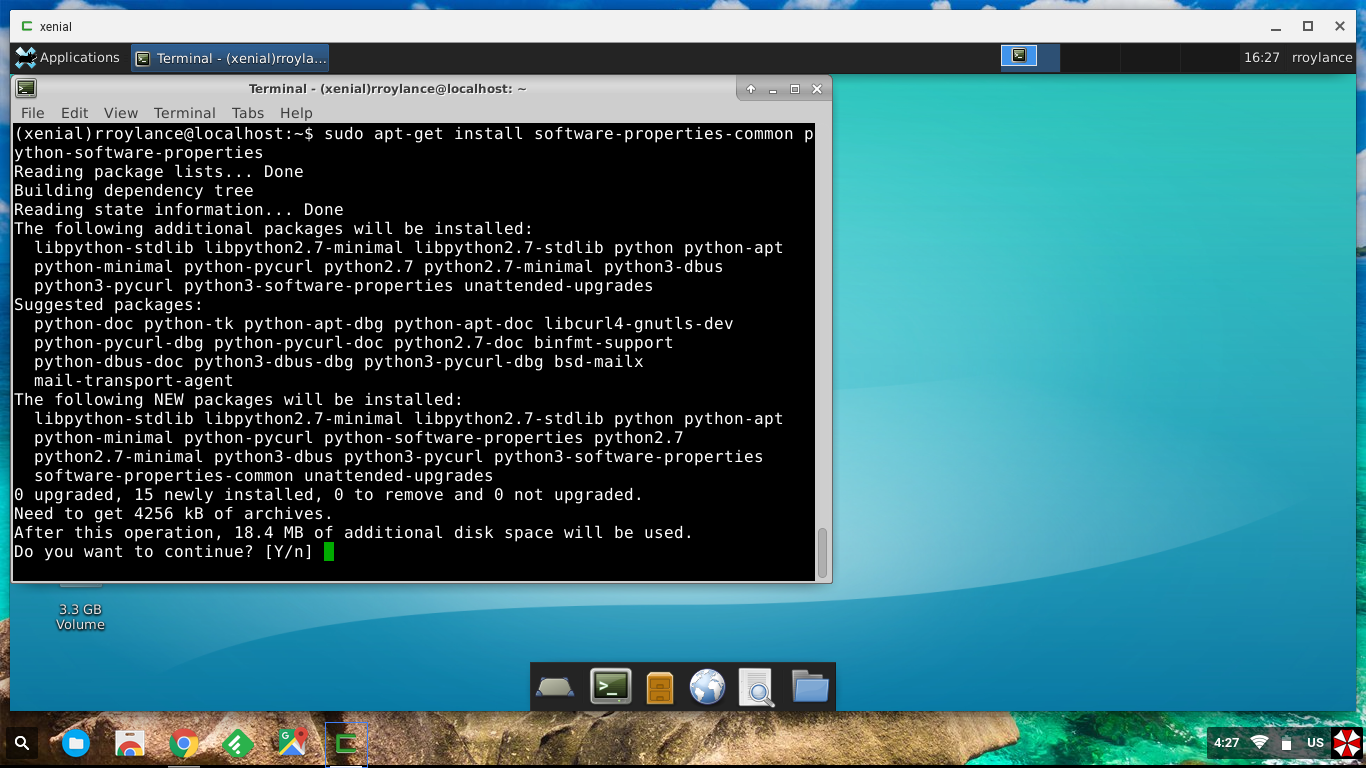
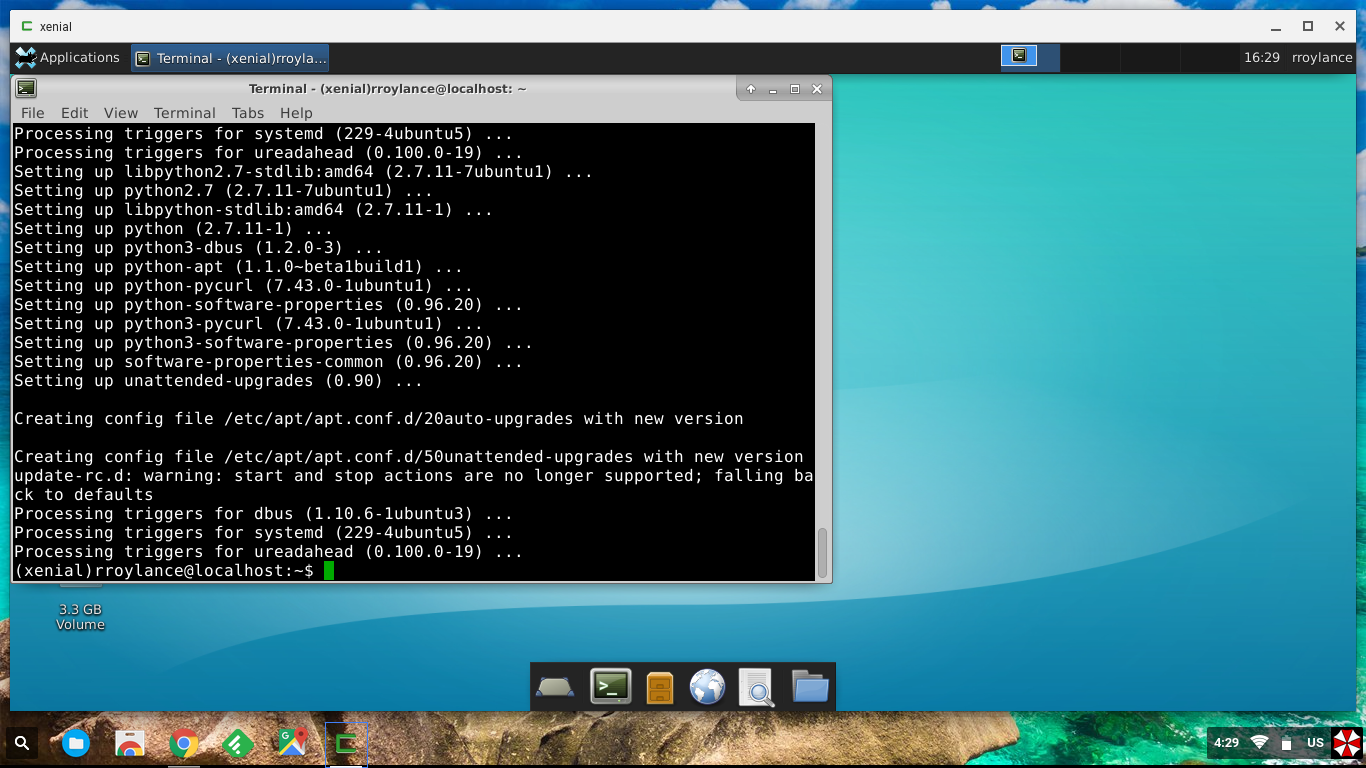
- We need to add the repository that hosts the Sublime Text installer; so to start we need to install the command that allows us to add a repository to apt. Run the command ‘sudo apt-get install software-properties-common python-software-properties’ 2.1 Type ‘Y’ then press ‘enter’ when prompted.
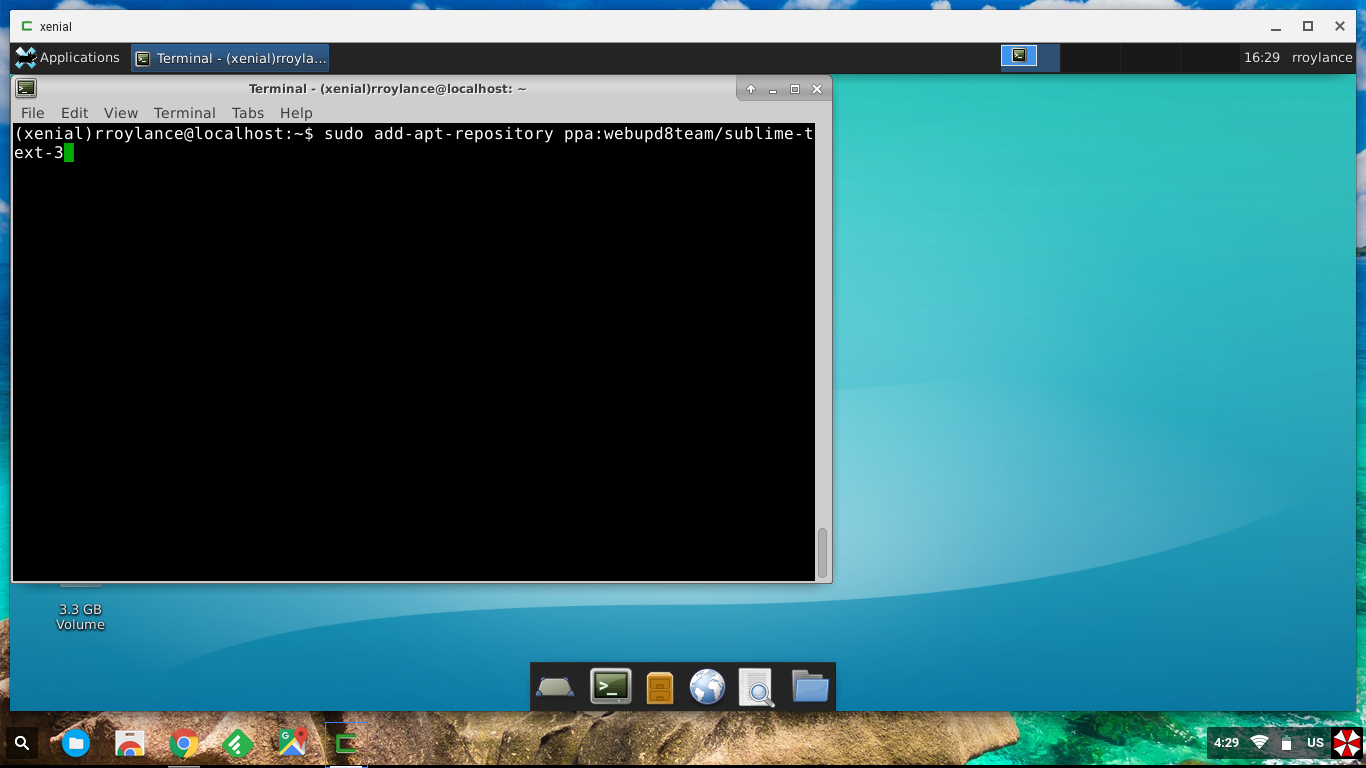
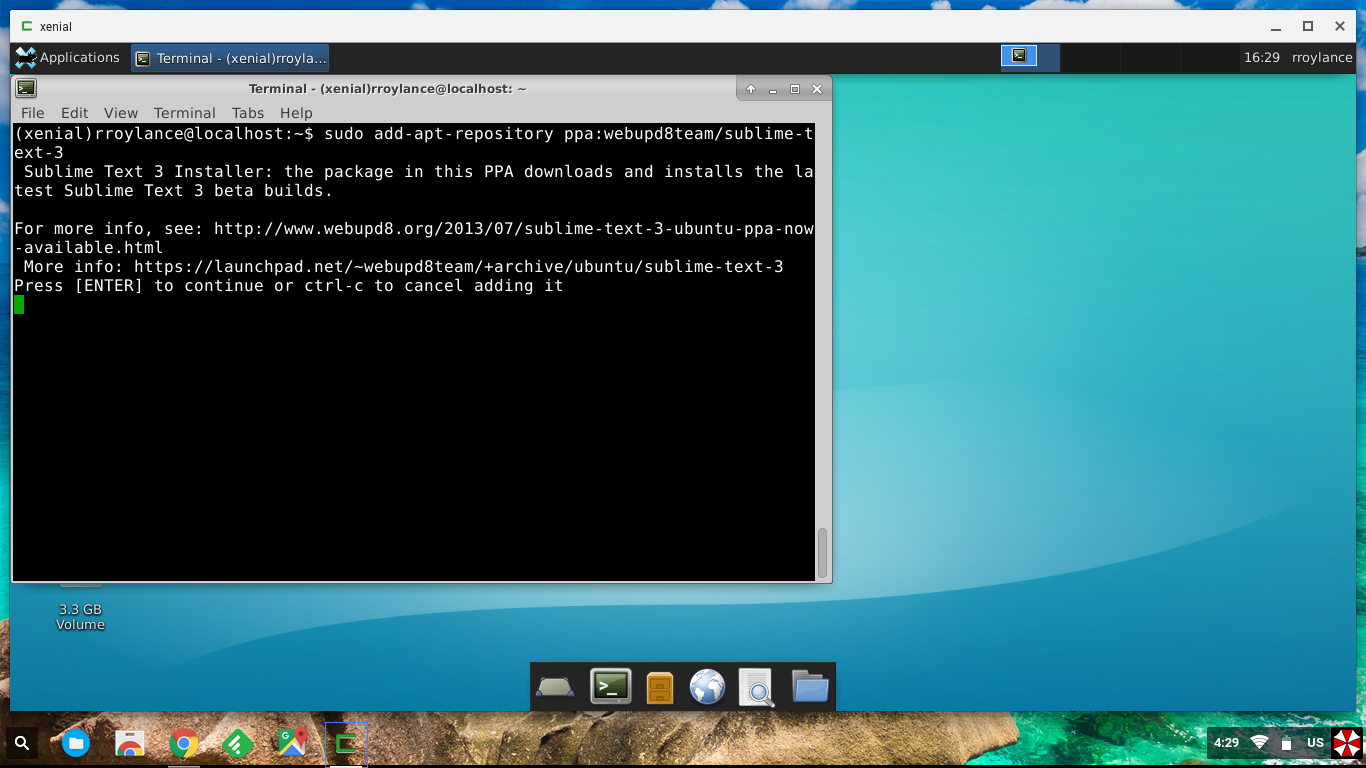
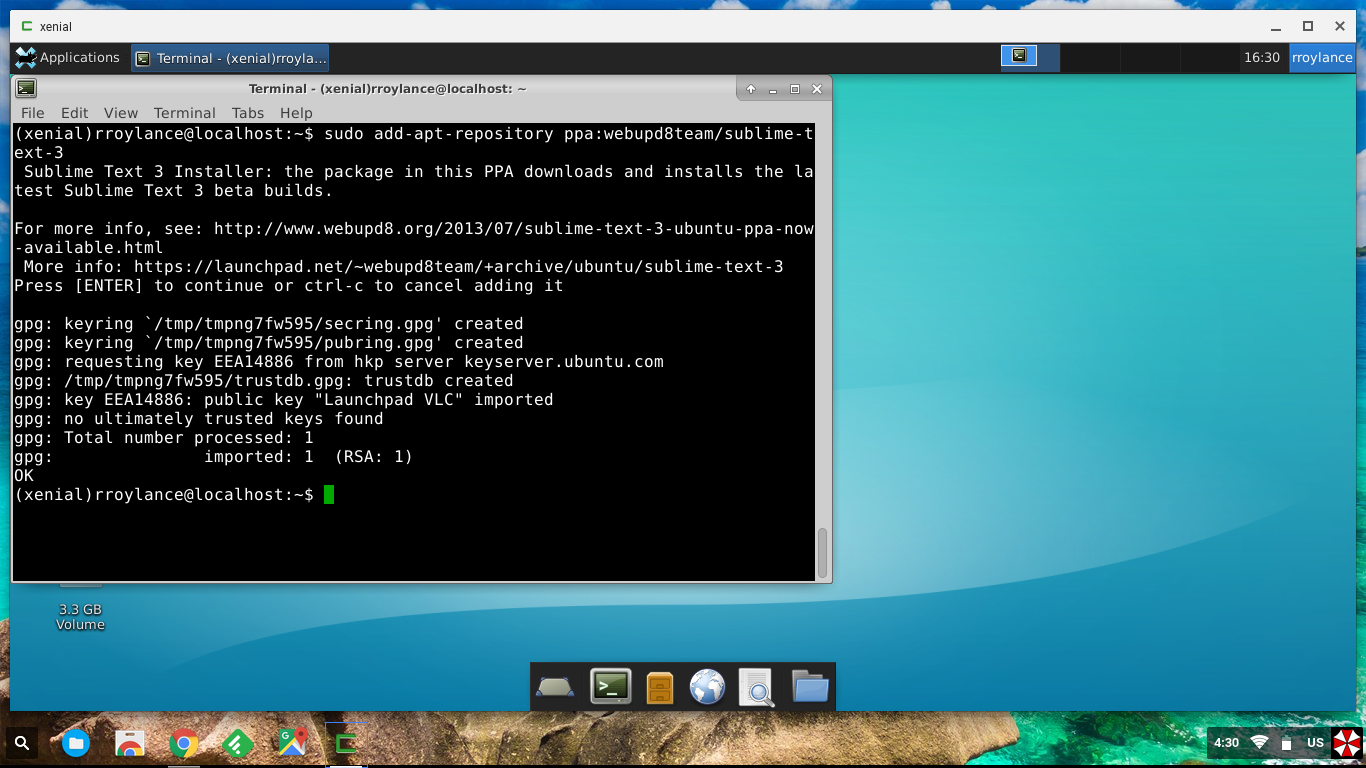
- Once that is complete run the command ‘sudo add-apt-repository ppa:webupd8team/sublime-text-3’ 3.1 Press ‘enter’ when prompted.
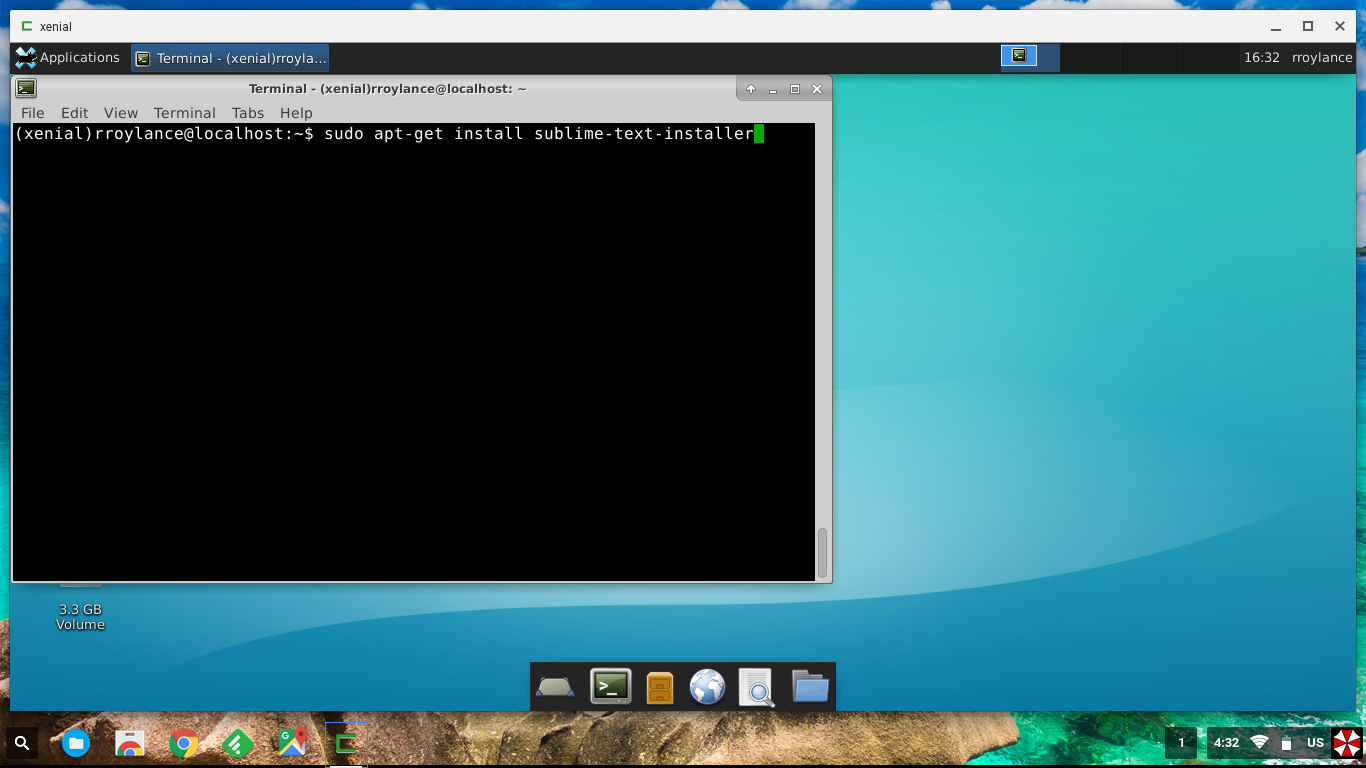
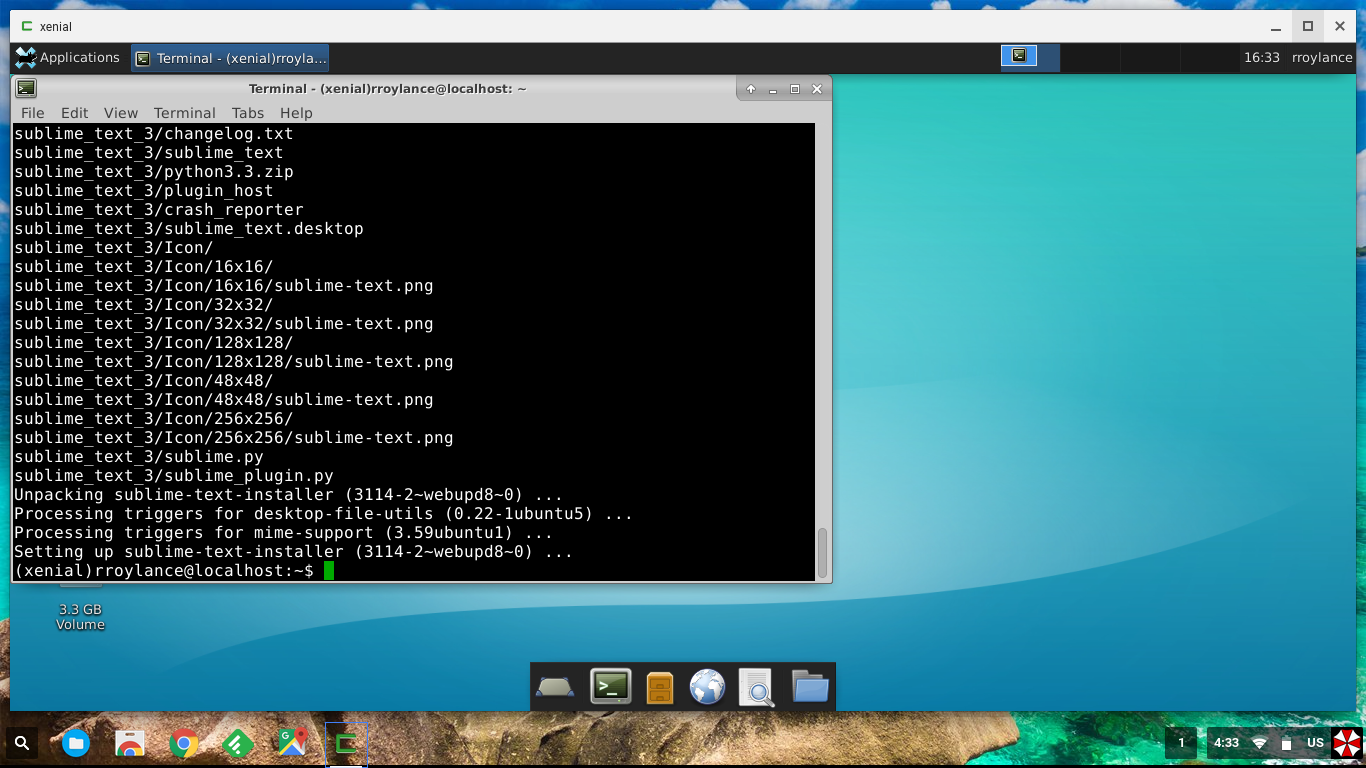
- Now to actually install Sublime Text 3; run the comman ‘sudo apt-get install sublime-text-installer’
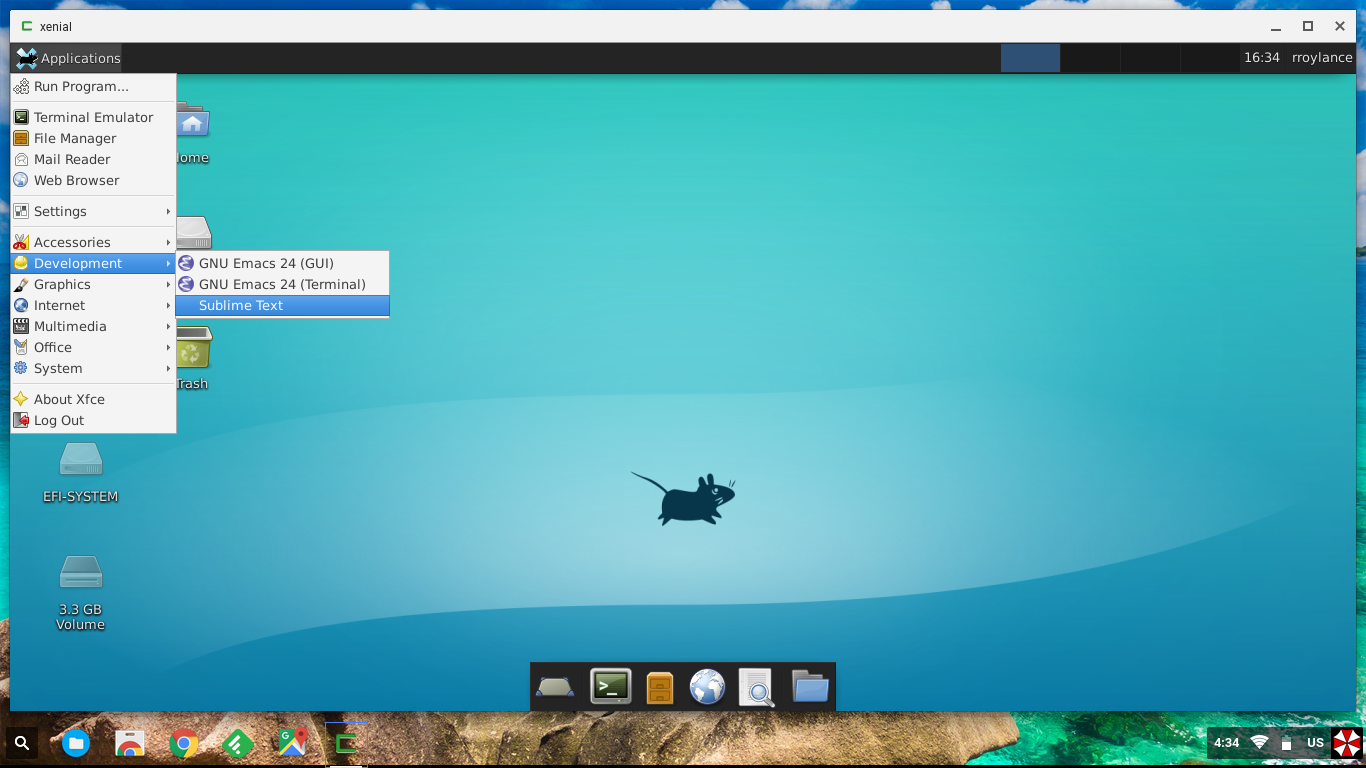
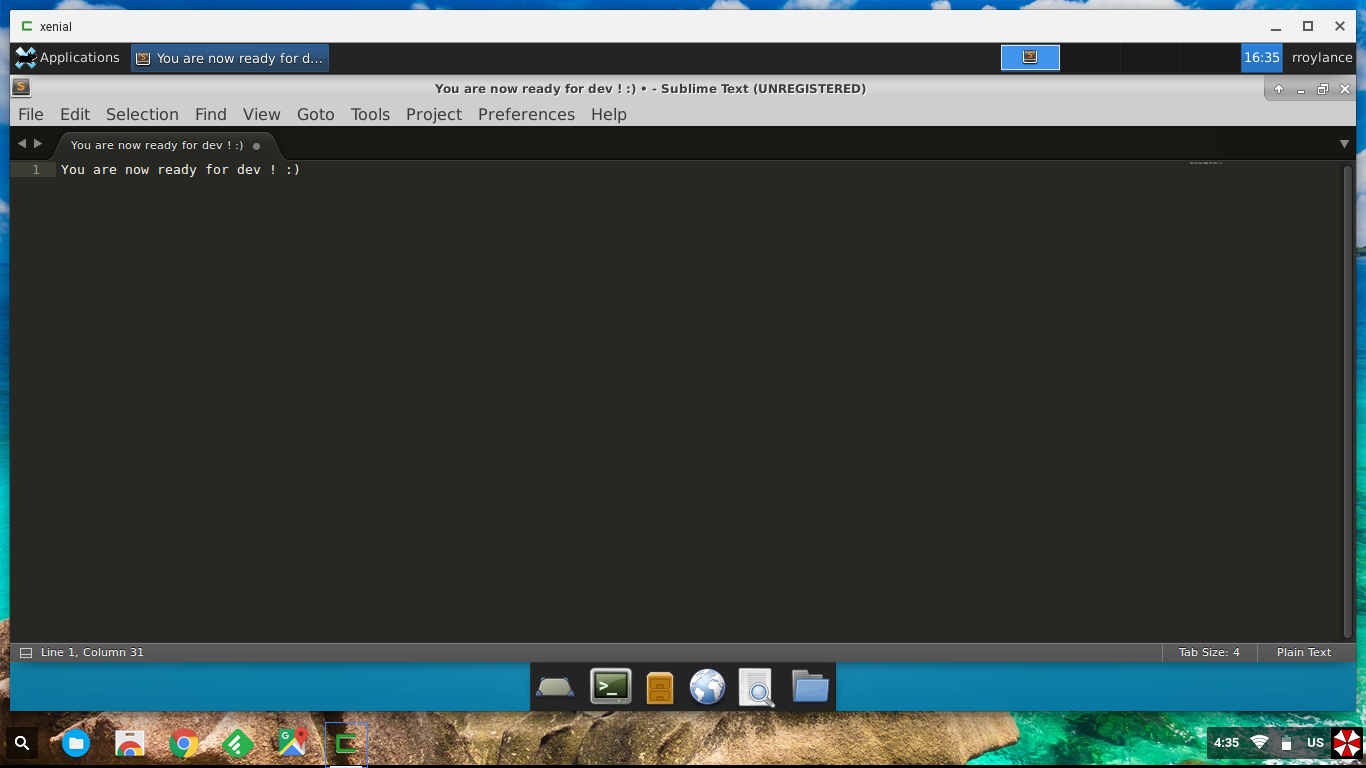
- Sublime Text 3 is now installed; open the program from the Applications (top left of desktop) > Development > Sublime Text
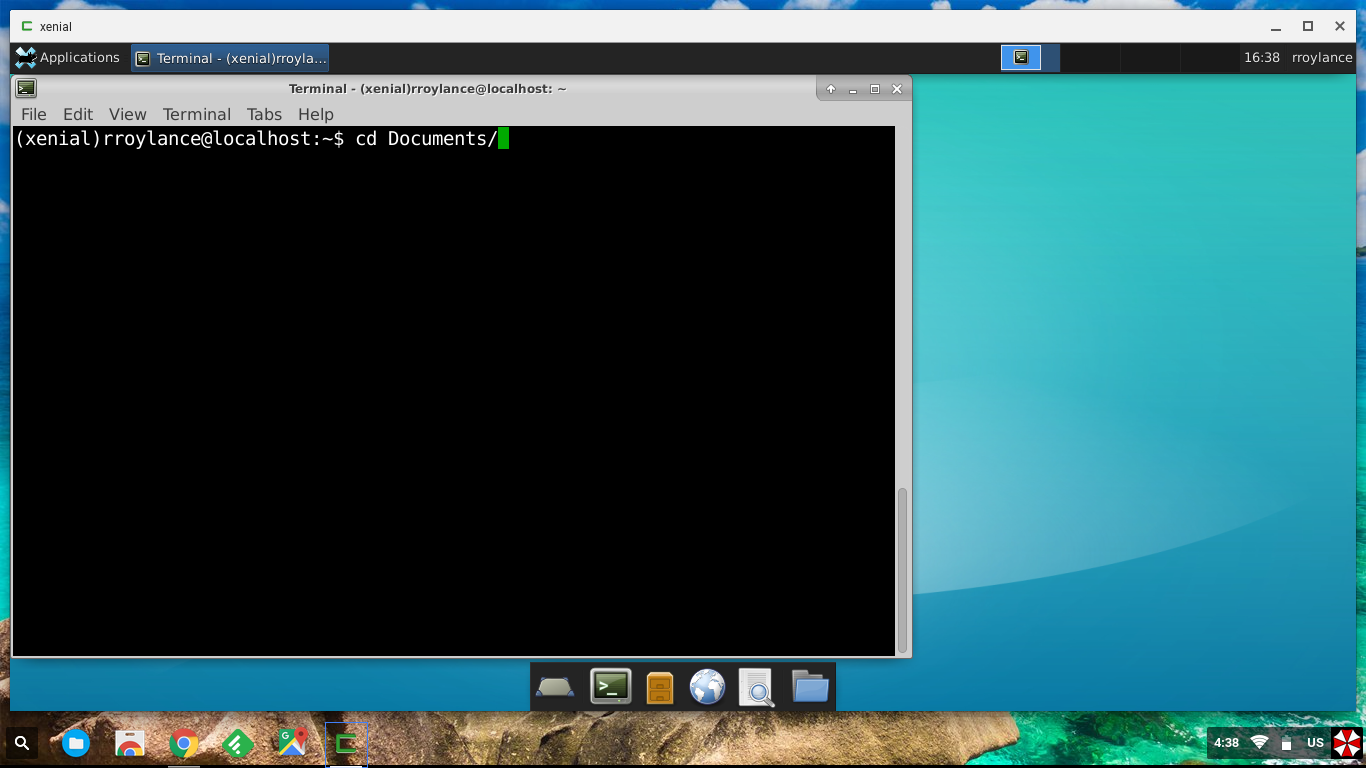
- For demonstration here, I’ll be cloning the repo for this site; start by navigating to whatever directory you want to store the project in, in this case Documents. Run the command ‘cd ~/Documents/’
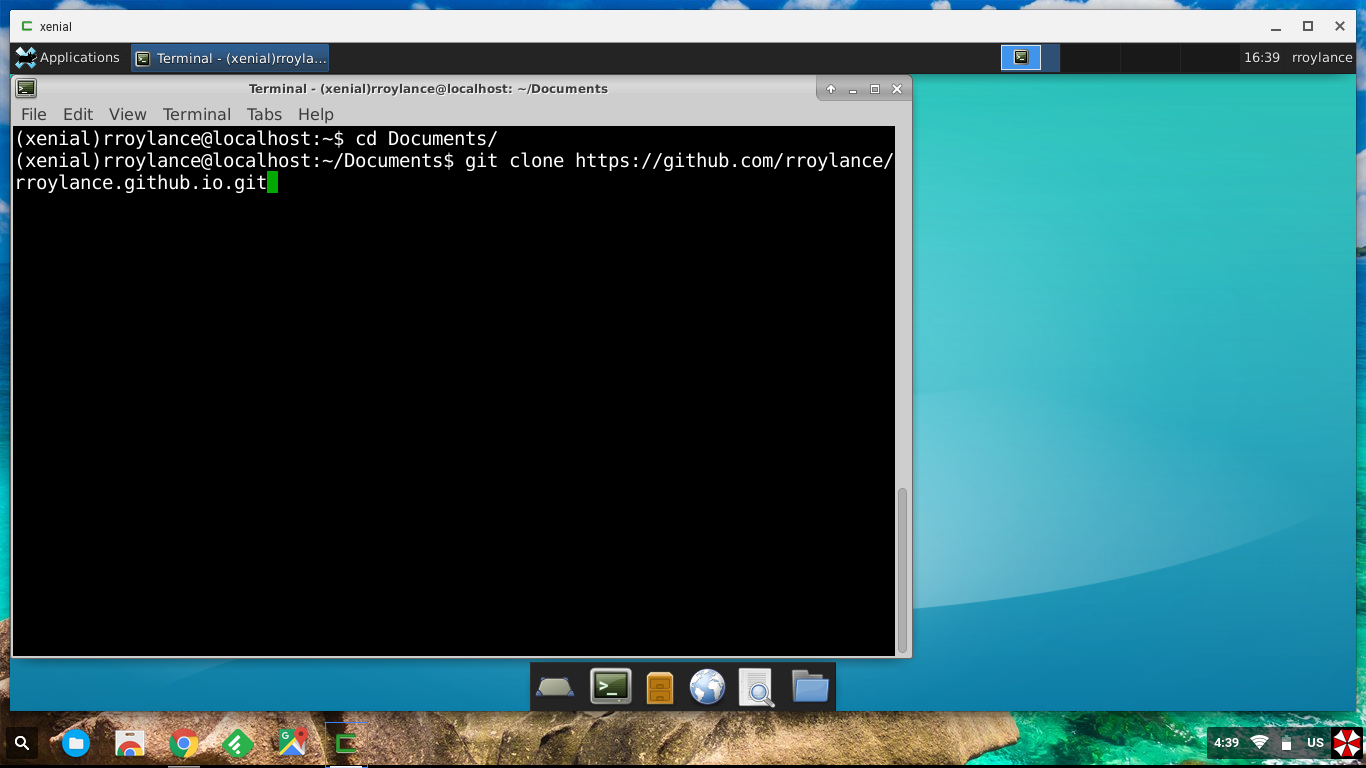
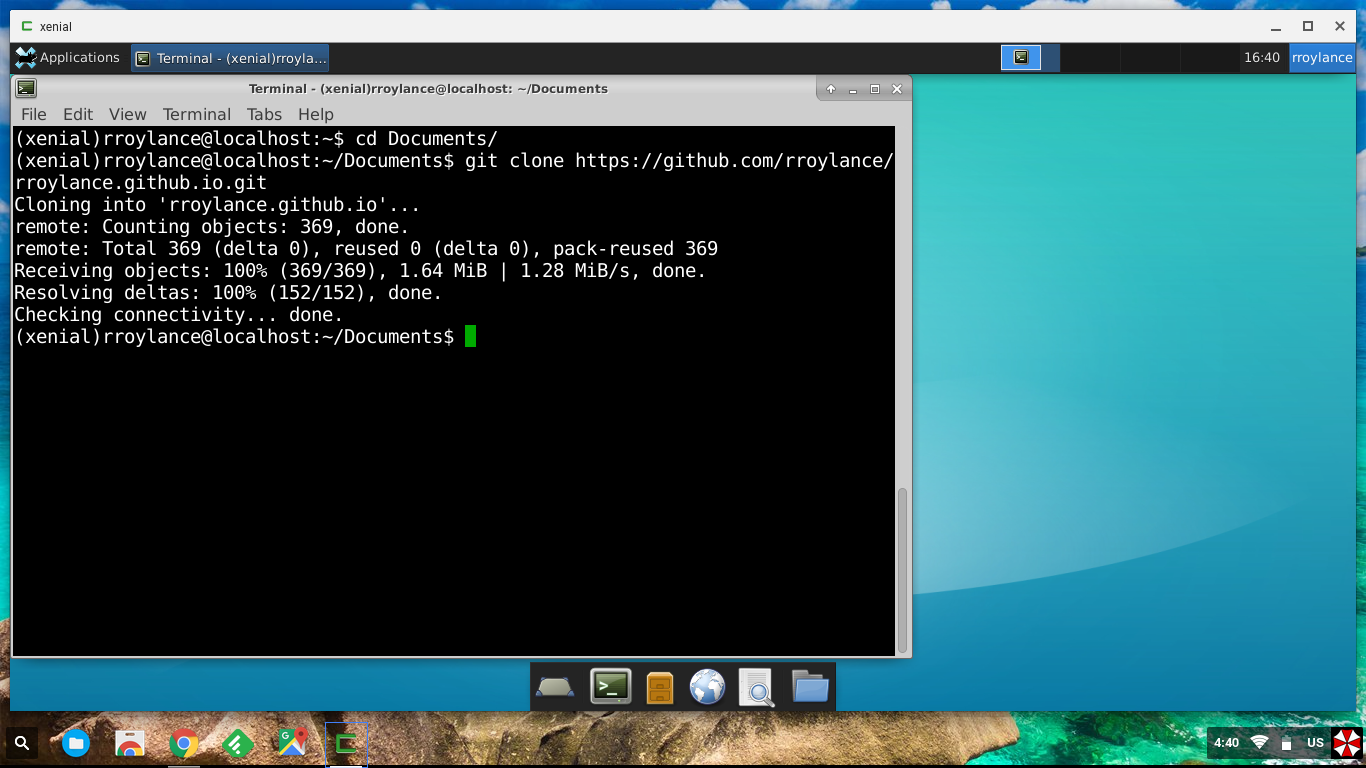
- Next clone the repo by running the command ‘git clone https://github.com/rroylance/rroylance.github.io.git’
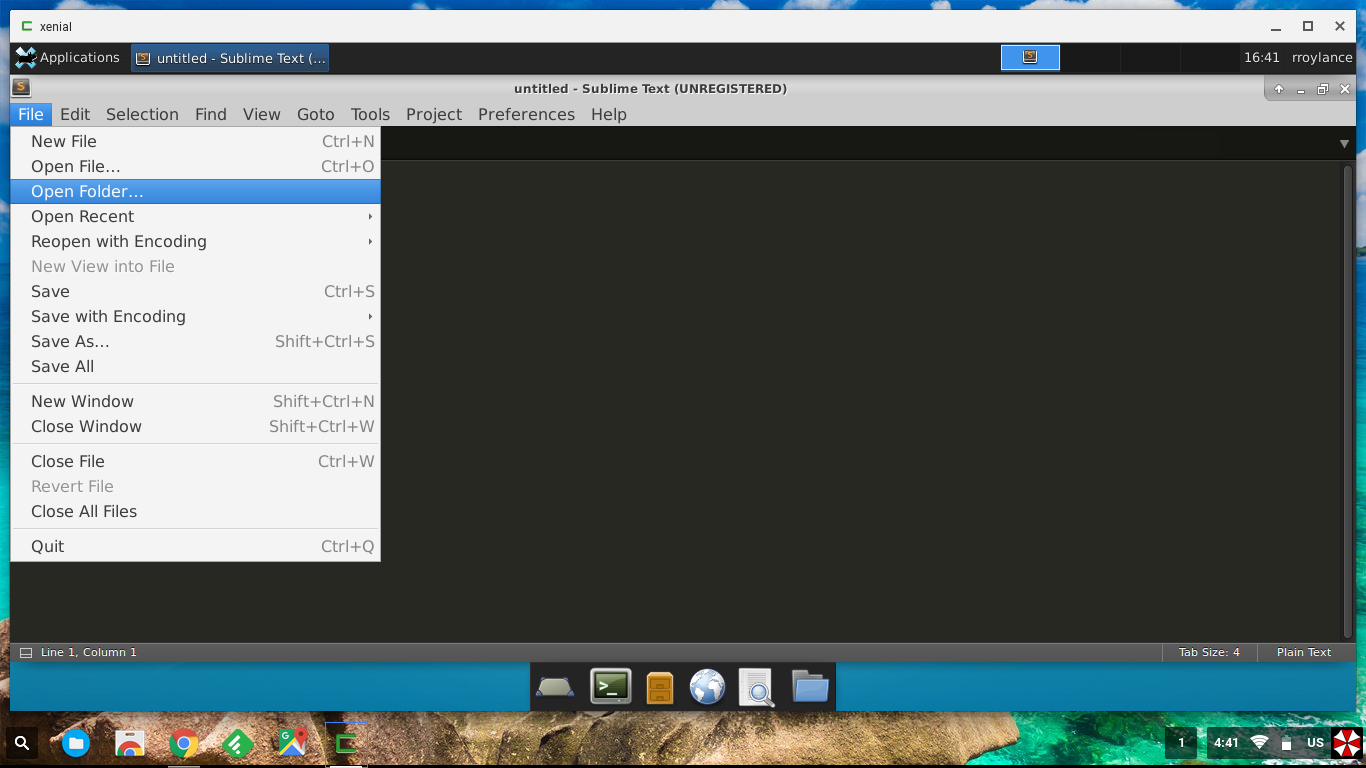
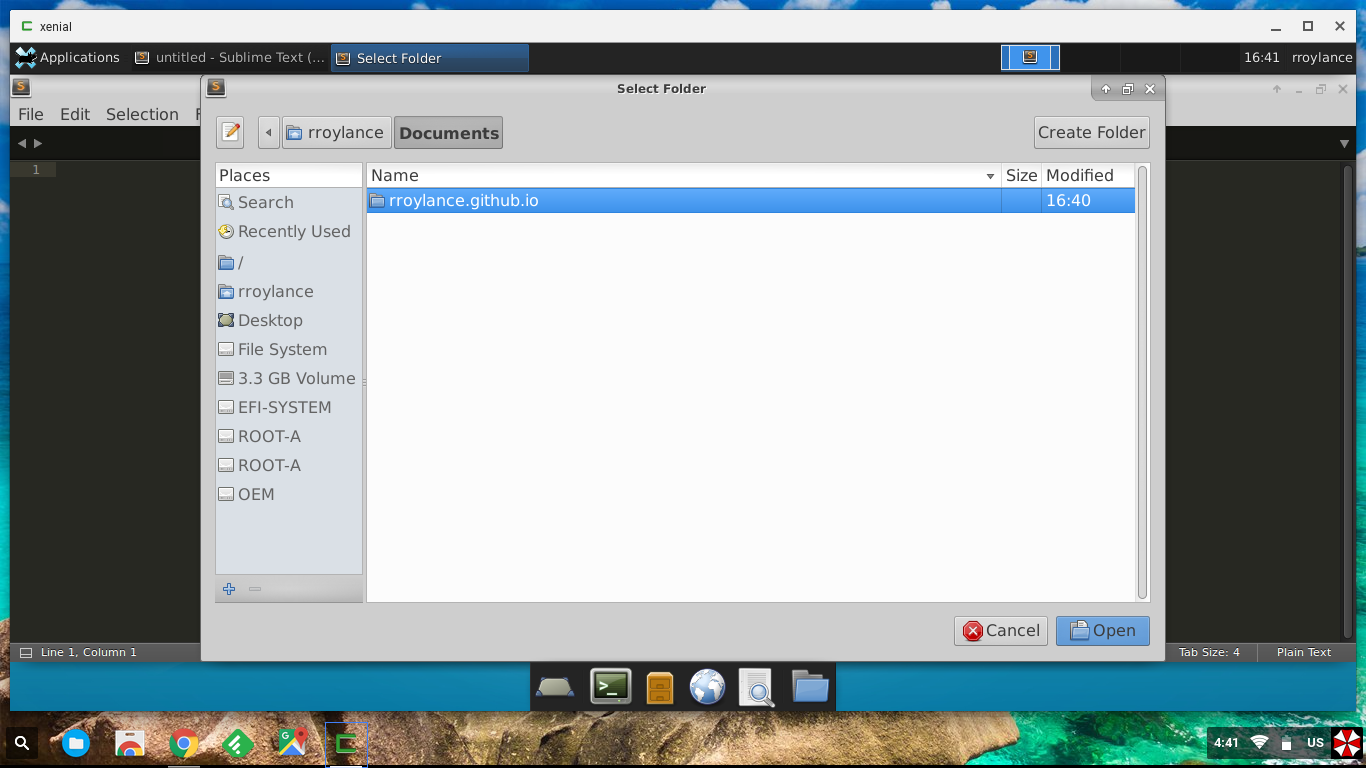
- Back in Sublime Text open the folder through ‘File > Open folder… > username (on left pane) > then the the project folder > Open in bottom right of popup’
- Ready to go.
